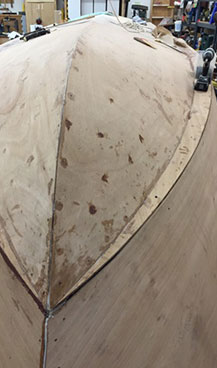
Next up: fiberglass on the bottom, and I’ll show the spray rails, what I made them of and what they look like on the side panels. After that, it’s all about painting — lots of it!! Here’s the bare hull ready for epoxy and fiberglass. On the right you can see the holes made by Read More >
Building a Tolman
Chapter Six
In this chapter I describe the process of hanging (installing?) the sides. Earlier I showed several pictures of scarfing, but below is a repeat to remind folks. Note the feathered end/edge, needed for the scarfing task. Below is an example of the scarf joint with two panels being turned into one long one of ~16′. Read More >
Chapter Five
I now have the stem, transom, shelves and stringers in place and glued together as required. Now is the time to try the bottom to see how it fits with the bow and bow end of the stringers. I made adjustments largely by moving the bottom back and forth until I liked the fit. Then Read More >
Chapter Four
In the last chapter, I applied fiberglass tape to all the bottom seams and we applied fiberglass cloth to the inside of the bottom panels. Once we taped the keel or fairbody I clamped 2x4s across the chine flats to ensure that the bottom panels didn’t spread or otherwise loose their required shape when turned Read More >
Chapter Three
With the chine shelves attached, and the fairbody seam taped, I’m ready to apply fiber glass cloth (10 oz) to the whole inside of the bottom. As with all application of glass in epoxy work, the wood is first soaked with epoxy, then the cloth is laid down and we add more epoxy as needed Read More >
Chapter Two
I’ve verified that the jig is level and the keel straight to make sure that as I pull things together, they remain perfectly (well, OK pretty darn close to… ) aligned, straight and even. Having built two small boats previously, I learned the hard way that very early in the process a lack of precision, Read More >
Chapter One
Step 2, etc. The boat has two main stringers or backbones. For the jumbo size, the two are cut out of a single LVL plank. These planks or beams are manufactured much like regular plywood, and you can likely see the layers in the picture below. Neal provides two templates so one is able to Read More >
In the beginning…
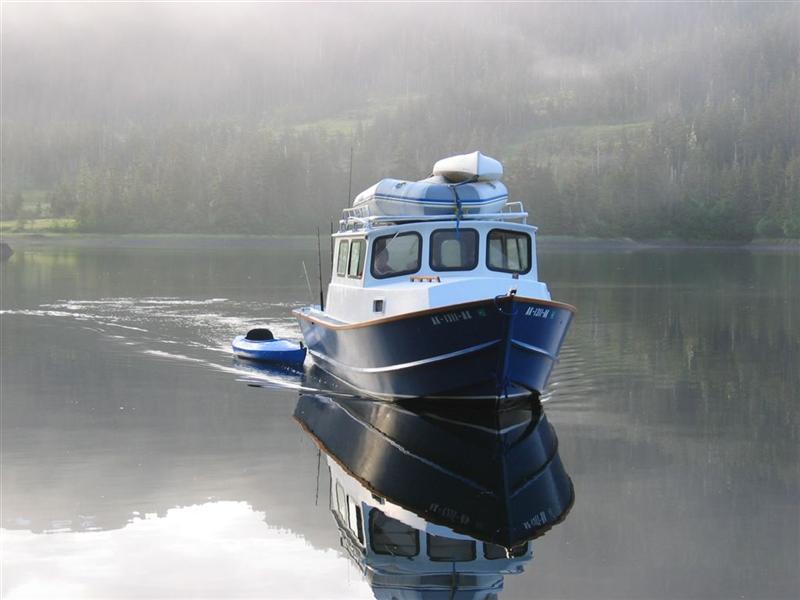
It has been so long that I’ve forgotten how or exactly when I learned about Renn Tolman and his Alaskan Skiff(s). I’m sure it was at least 8 or 10 years ago. Renn spent 20+ years building fishing skiffs in Homer, Alaska for commercial fisherman. Needless to say, this is a demanding environment and over Read More >
Building a Tolman
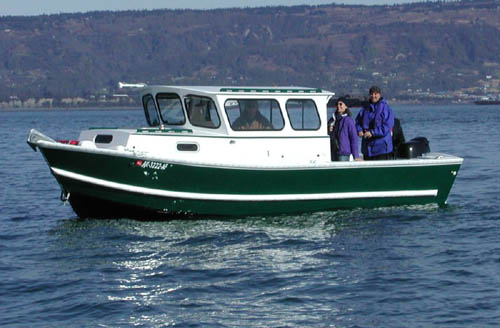
What follows is a narrative of my experience building a power boat called a Tolman, something like the sister ship above. Mine will be the Jumbo model ~24′, based on a kit of Okoume marine plywood cut out by Neal Schlee of Anchorage, Ak. To the best of my knowledge, the fastest build of a Read More >
Getting Started
September 2009 — I started with a hull kit from Skiffkits of Anchorage, AK. Neal does a fantastic job: The pieces are precisely cut and labeled, but the directions for building it are found in a book by the designer. I have to confess that I all but “stole” it from a widow in NV. Read More >