I’ve verified that the jig is level and the keel straight to make sure that as I pull things together, they remain perfectly (well, OK pretty darn close to… ) aligned, straight and even.
Having built two small boats previously, I learned the hard way that very early in the process a lack of precision, e.g. it’s only an16th off, is cumulative. That is to say, that being an 8th off early only a couple of steps later becomes 1/4″ off and before you know it that has become 3/8″. And I’m wondering how that happened! But I digress.
Then I stitched the panels together with tie wraps. (You may have heard of the “stitch and glue” boat building technique?) Short dowels are used to keep the edges aligned. Using thickened epoxy, I “spot welded” along the keel so I could remove the tie wraps.


Before taping up the keel, the chine shelves must be attached. I “tried” the chine shelves on the bow. I was surprised that the bottom panels did not immediately match the curve of the chine. Surprised and very concerned. The parts are from a precision cut kit, and I took the approach that the curve of the chine flats is correct and what i need to work to. So, I stitched them up (tie wraps, again) and found that it pulled the panels into shape just fine. The bow of the panels can be pushed and shoved, etc. to vary their curve, and match the chine flats if they don’t already. Mine didn’t but stitching the flats pulled them easily into the right shape.
The next step is to tape up the keel joint. It consists of a fillet of thickened epoxy about 3″ wide, along the keel. On top of that, goes 10 oz tape — first a 4″ wide tape, then a 6″ strip. I snapped lines to guide the application.

Here’s what this step looks like in process. Becky was of immense help, indeed I could not have done this without her. There’s a lot of epoxy to mix, but you have to do it in small batches (I won’t bore you with why that is necessary.) but you have to keep moving so you can position the glass tape before the epoxy gets stiff.

By the way, key tools for this task: Disposable mixing dish, brush for spreading the first coat on the wood directly, and the roller. This latter item is so useful and saves a great deal of labor and frustration. Whenever glass is applied, air becomes trapped and must be eliminated from beneath the glass. I’ve spent lots of time, using my fingers to push the bubbles to the edge and pressing down the glass. This roller makes that so much easier. It’s a lifesaver. What’s missing from this picture is my epoxy pump. It dispenses the resin and hardner is just the right ratio (2:1).
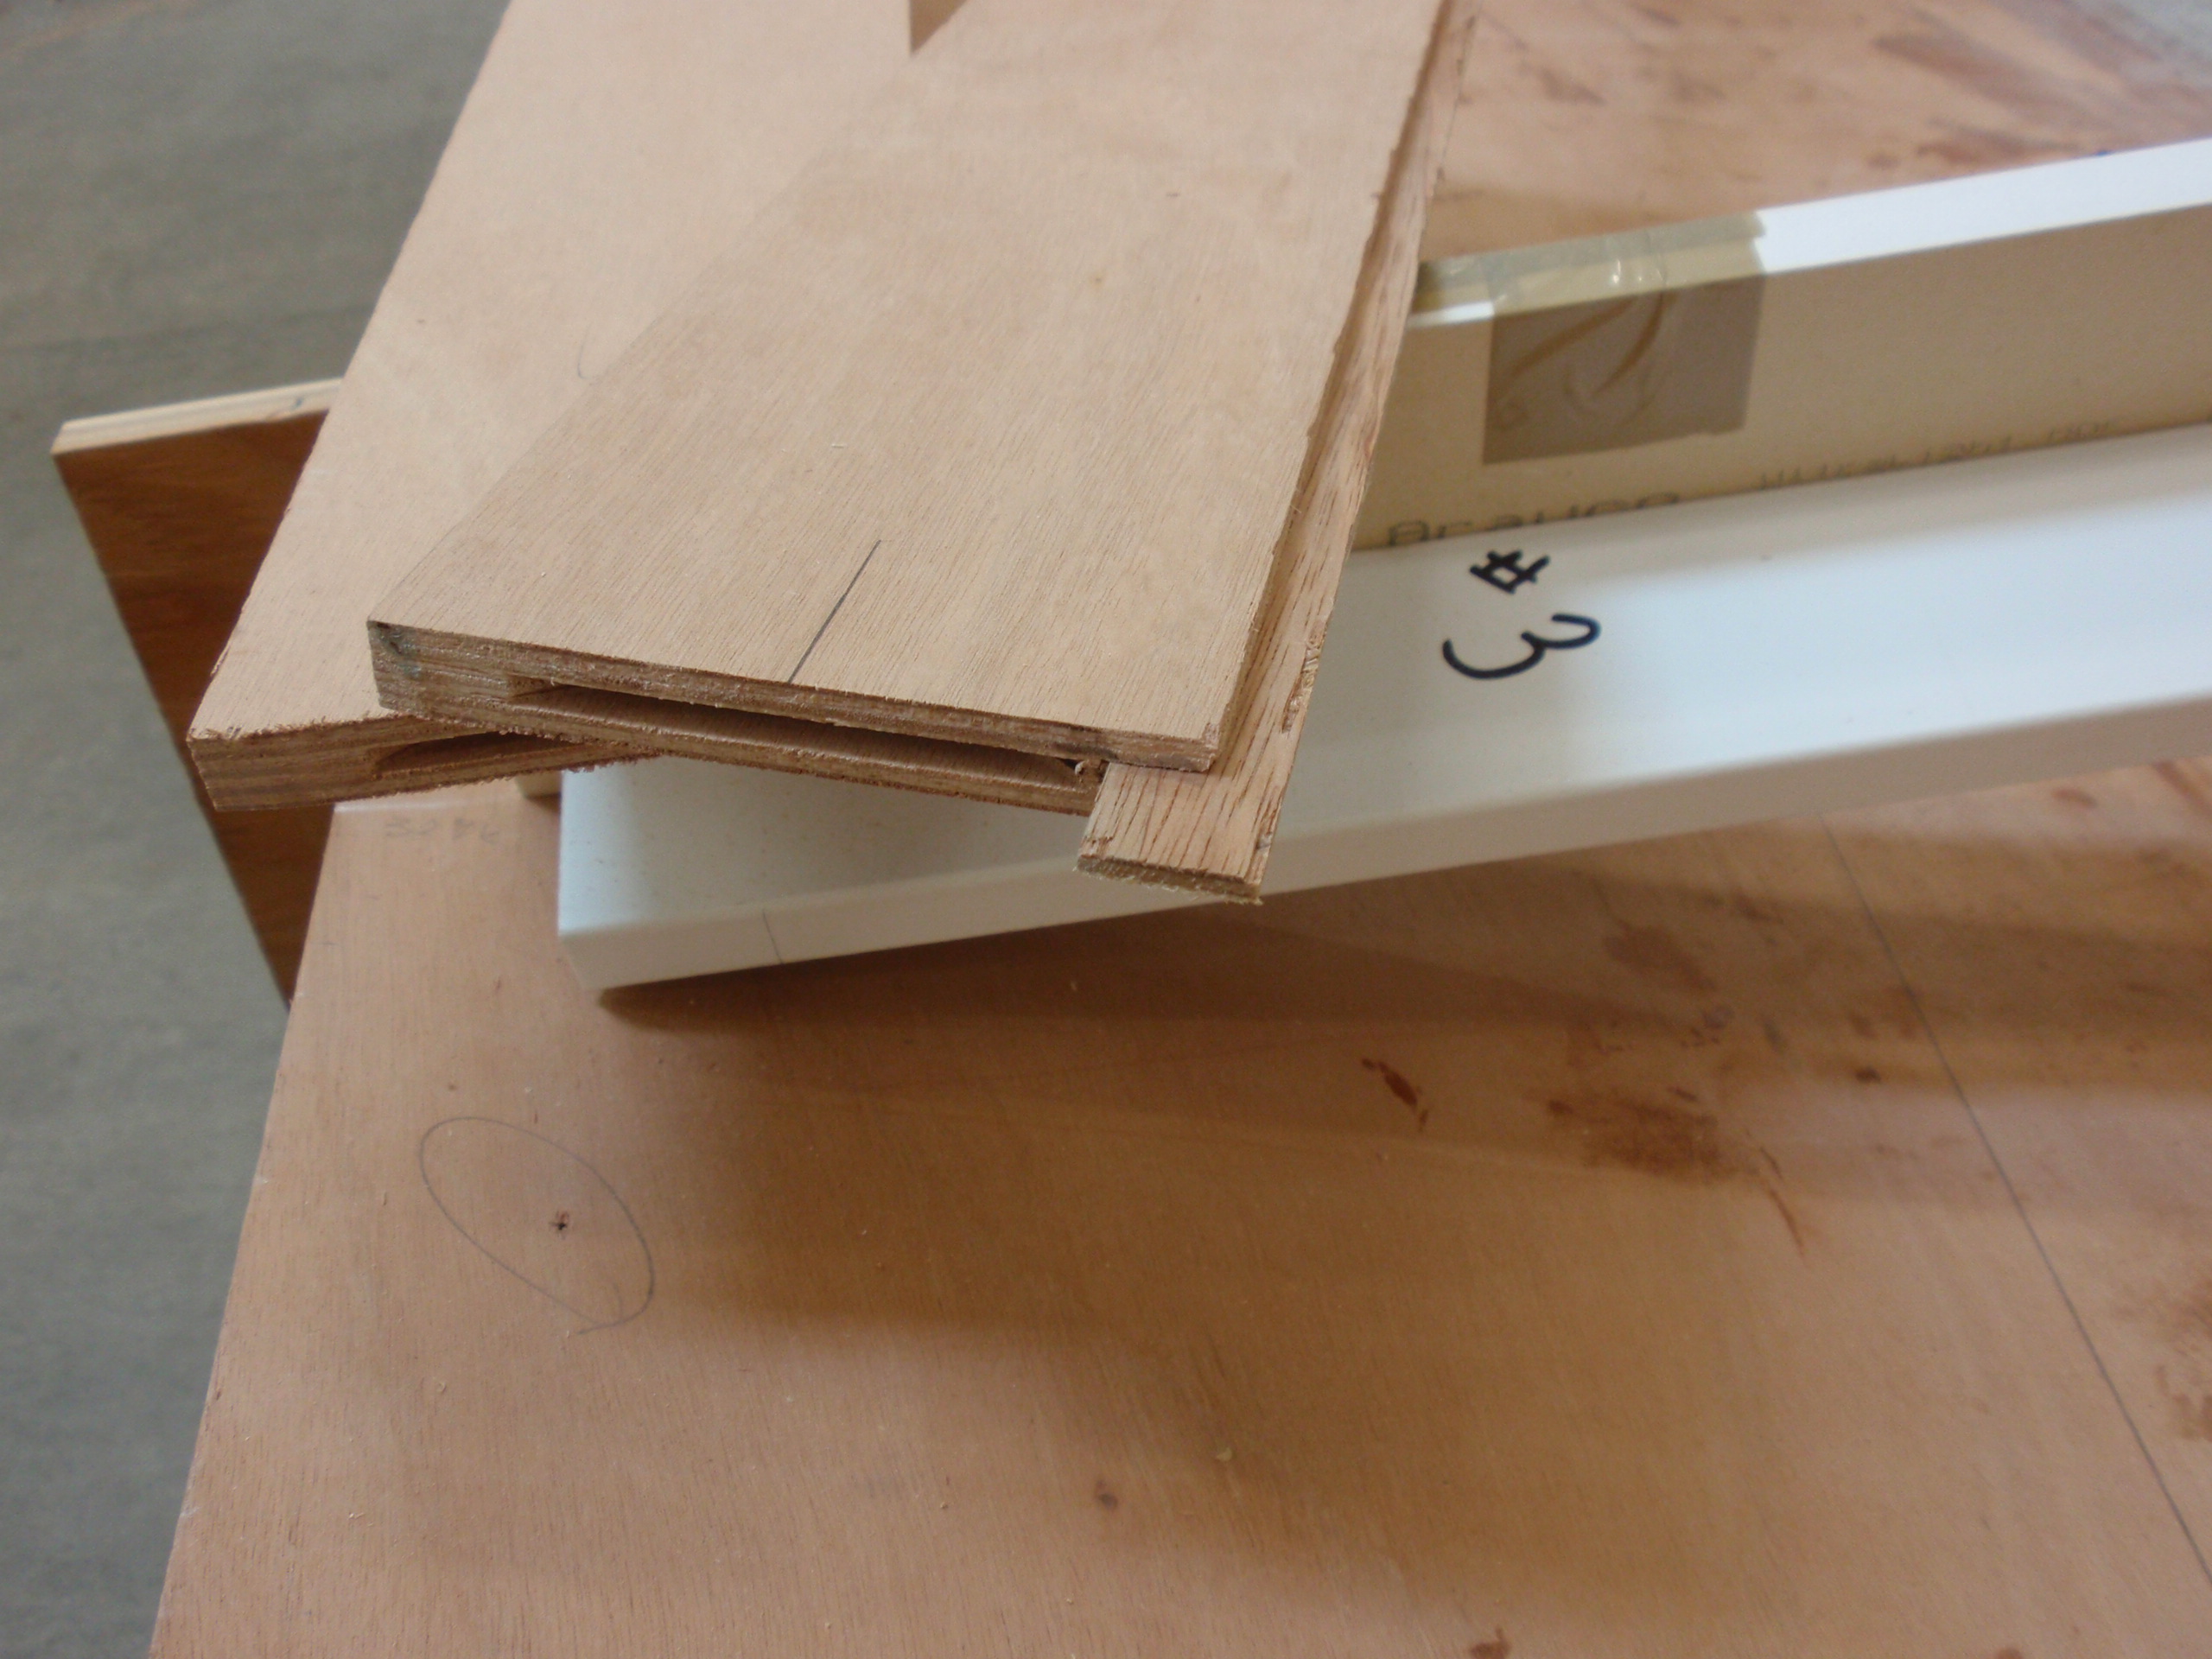
Once the keel or fairbody is properly taped, I made slots in the straight bottom panels with the router to accept splines. The straight chine sections are joined to the bottom panels with these. I used biscuits in fastening together the ends of the individual chine shelve boards.
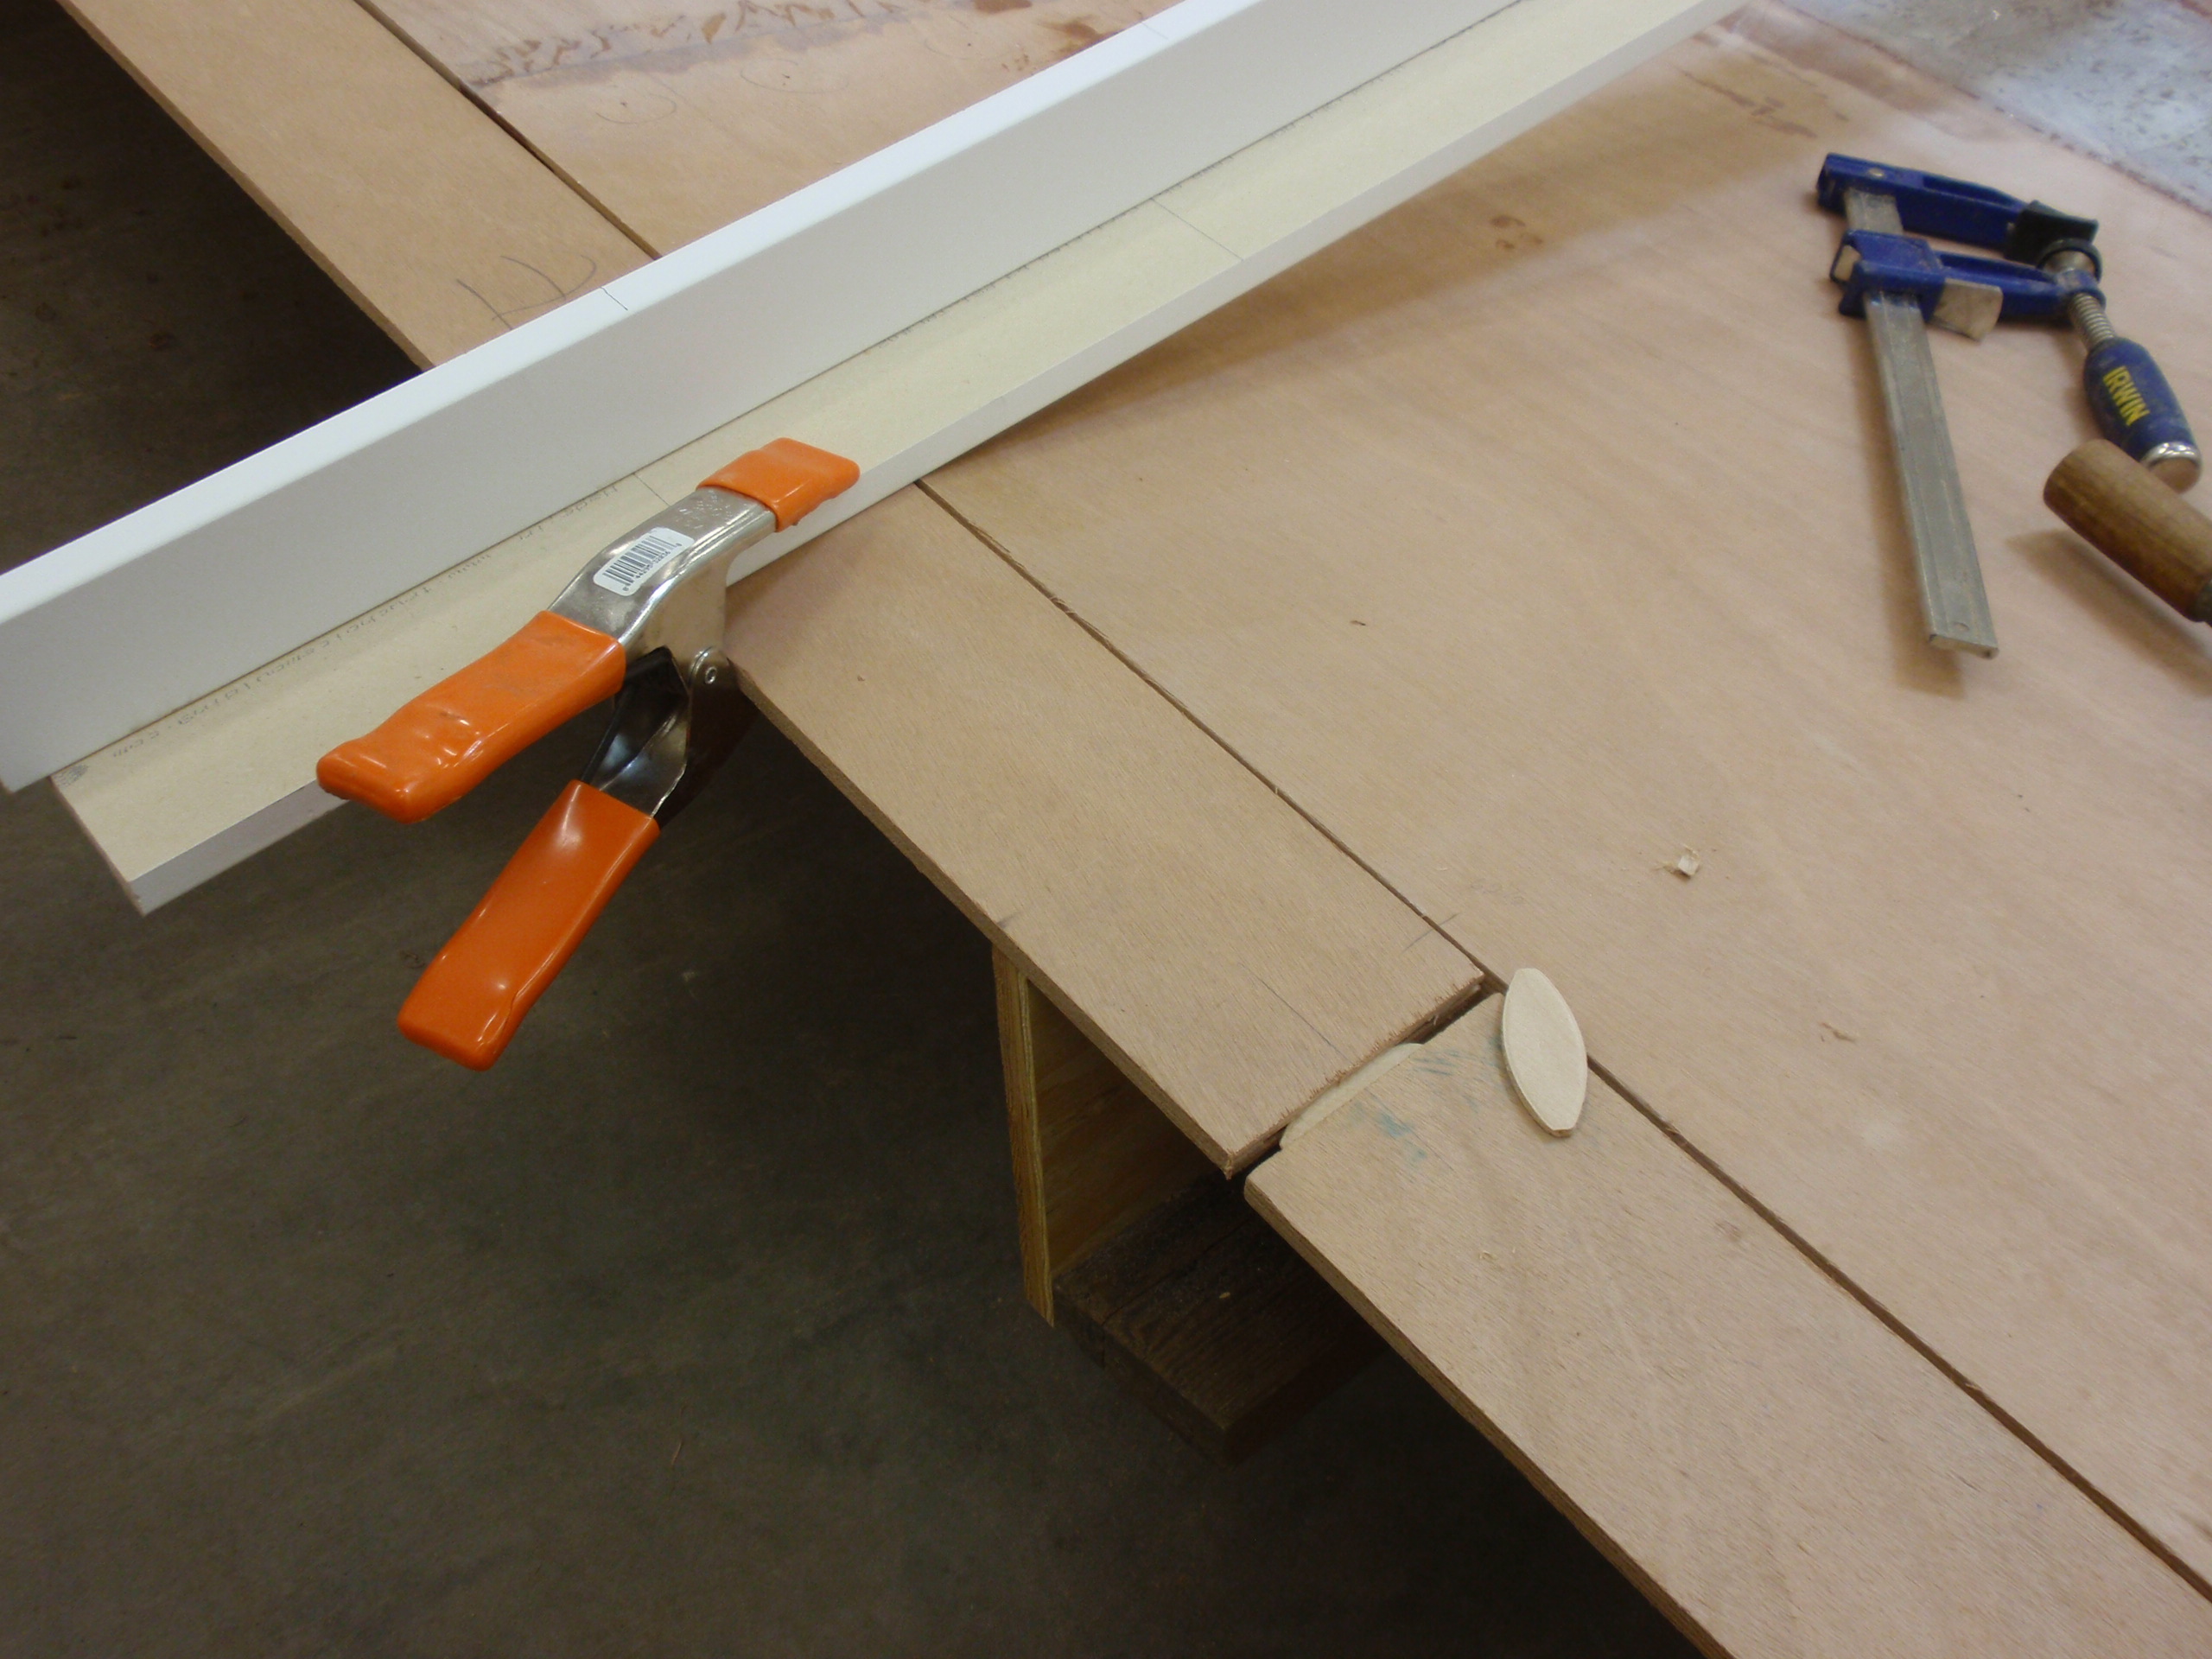
Once I’m sure everything fits together correctly, we insert lightly thickened epoxy into the slots on the chine and the bottom panel. Then we stick them together as you see below and, using straight edges across the hull, make sure they stay level and squeezed together.

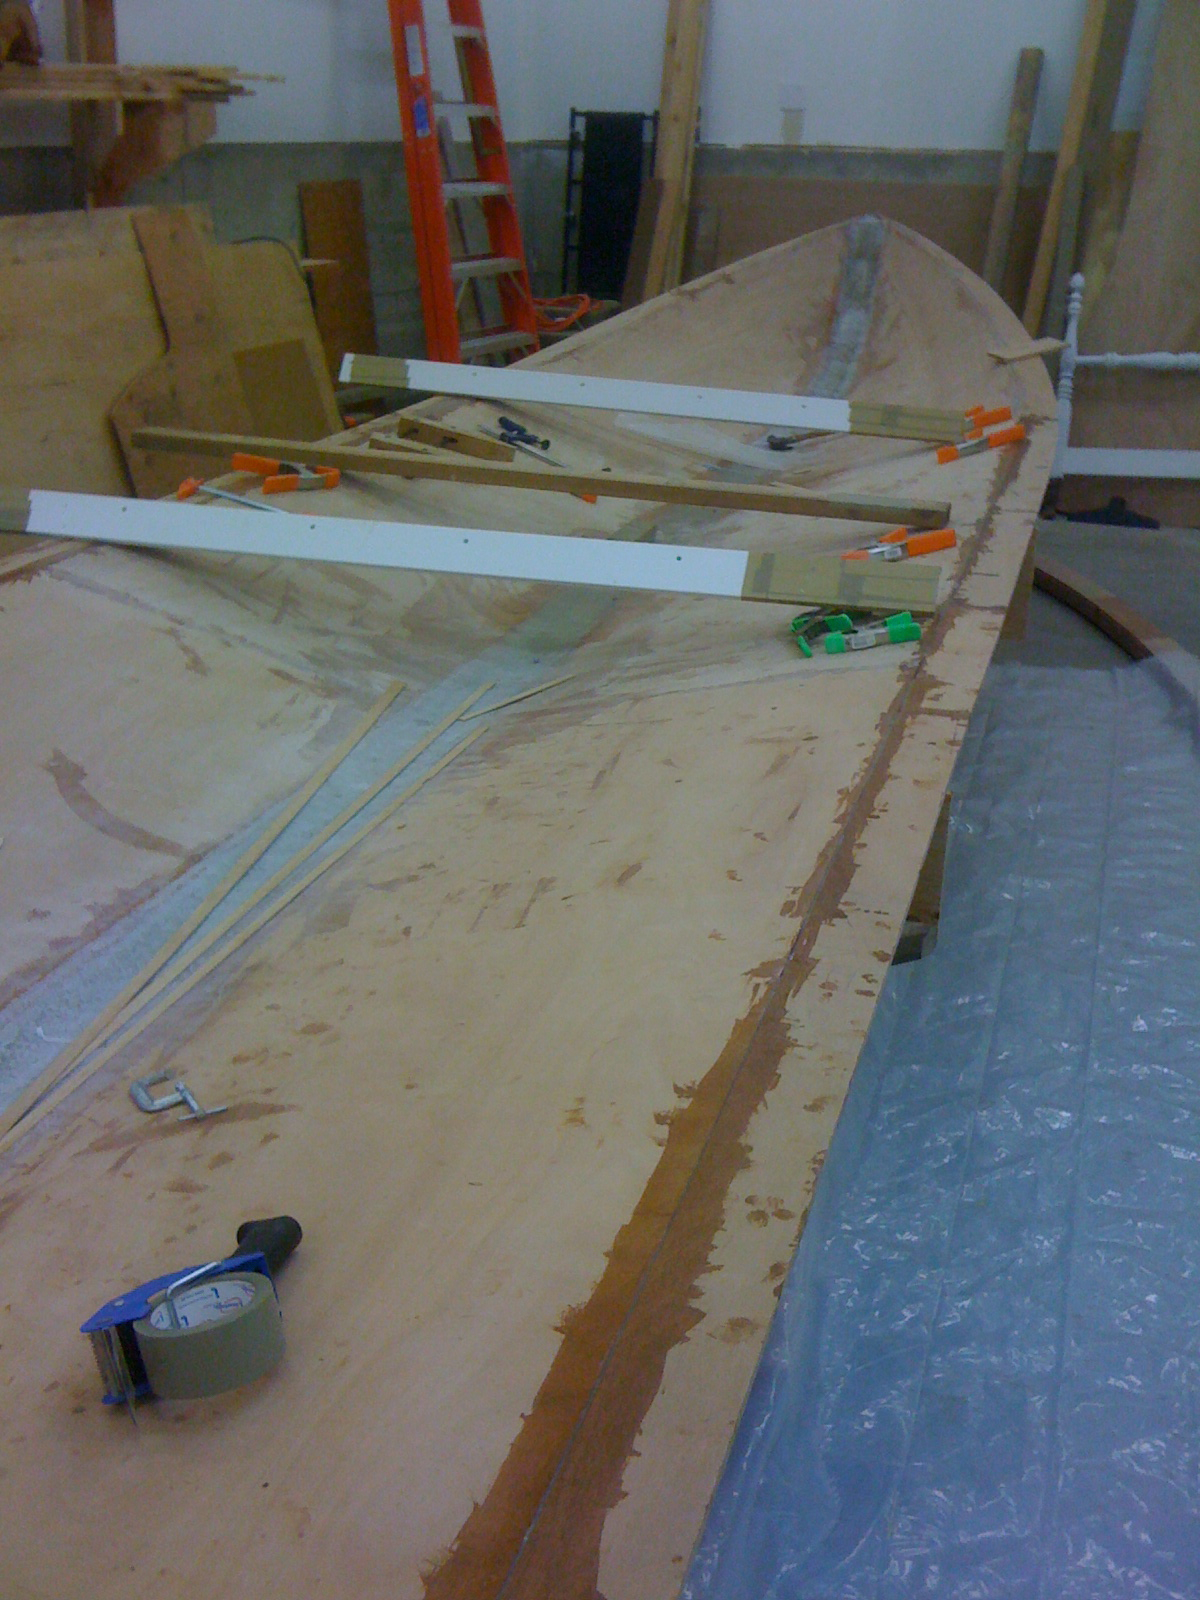
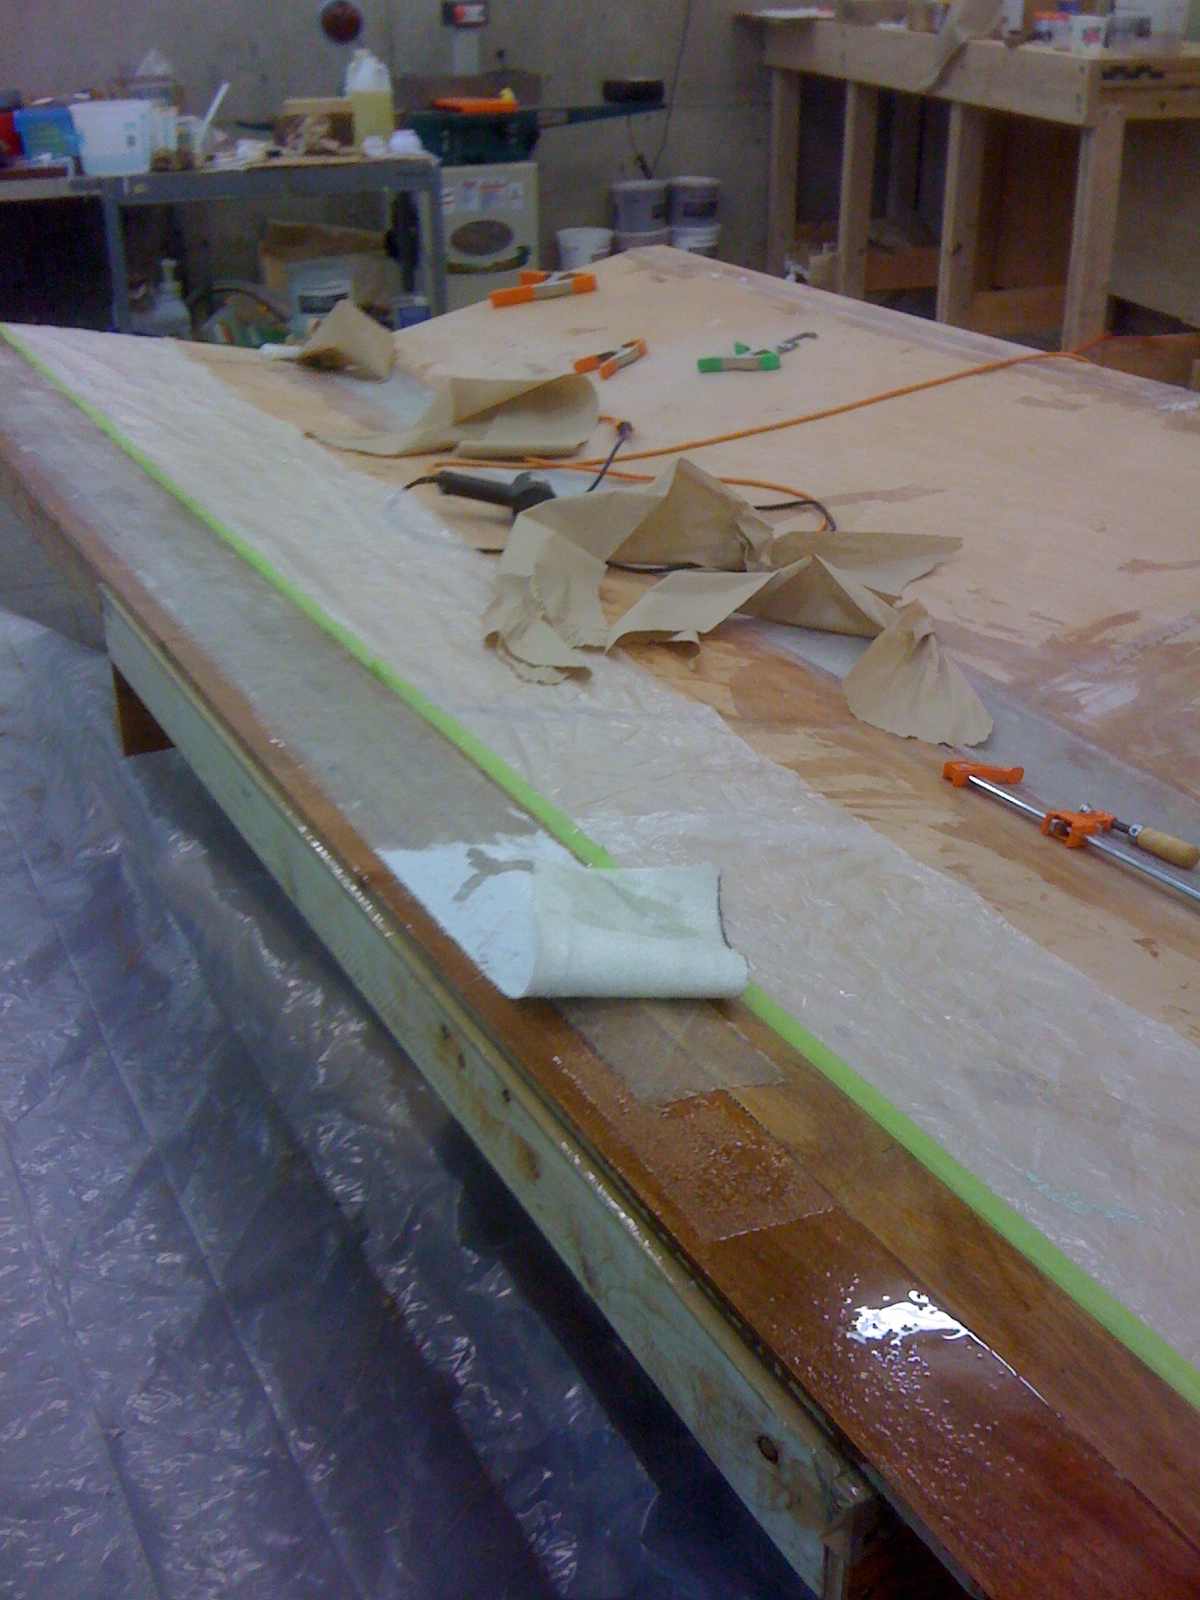
I have to add fiberglass tape to strengthen the chine joint. There are two layers of glass tape, one wider than the other. Straight epoxy is applied to the raw wood. This will soak into the wood for a good grip and will ensure that the epoxy on the tape is not sucked away into the wood leaving less epoxy in the tape than is needed. The green tape and plastic is just an apron to keep my messy technique from getting all over the rest of the bottom.
Above is a picture of the chine shelves epoxied together with the bottom panels and reinforced with some fiberglass tape.