September 2009 —
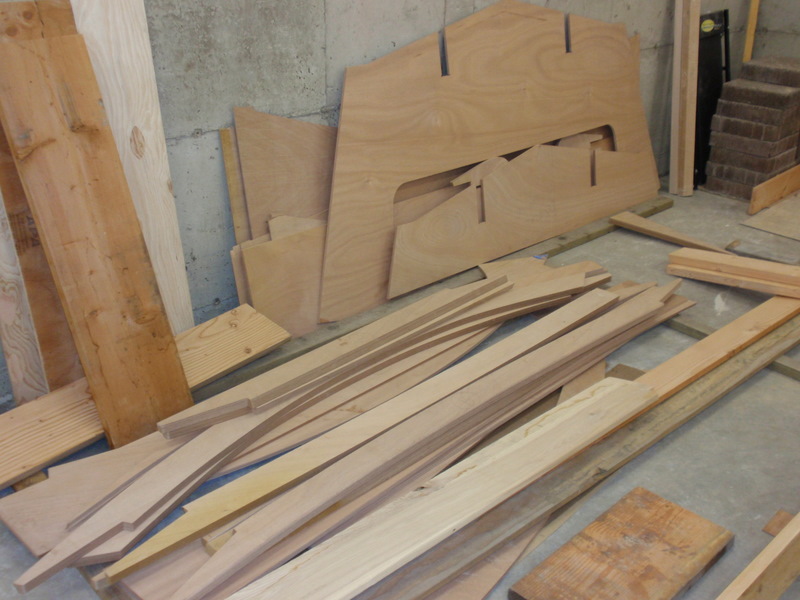
I started with a hull kit from Skiffkits of Anchorage, AK. Neal does a fantastic job: The pieces are precisely cut and labeled, but the directions for building it are found in a book by the designer. I have to confess that I all but “stole” it from a widow in NV. Her husband had died and she just wanted to be rid of it. After it had been advertised for several months, I decided to drive down and pick it up. She gave me a *very* good deal.
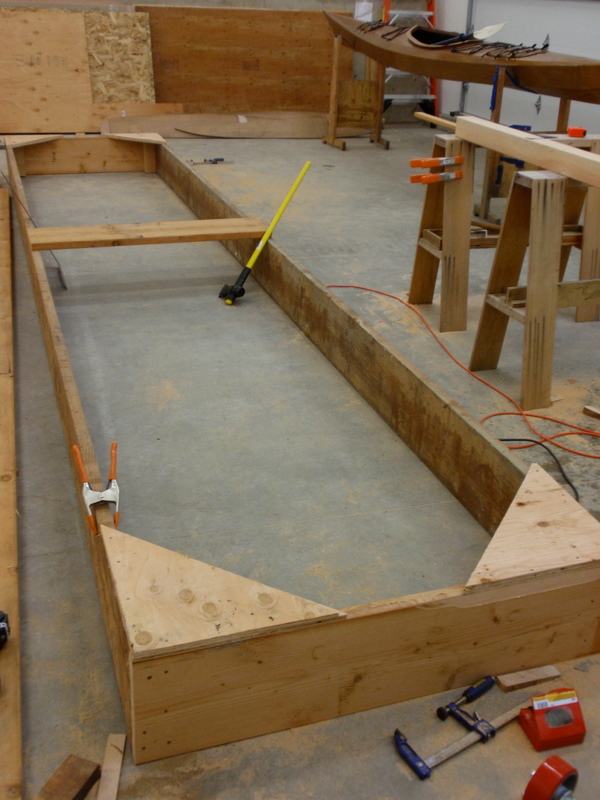
Step 1: A building frame is required. This is the basic frame on which the whole boat will be built. It is 18′ x 4′ and in my case I put it on casters. I was again fortunate inasmuch as the builder of the new shop I’m in, left me a couple of 2x12s of more than sufficient length.
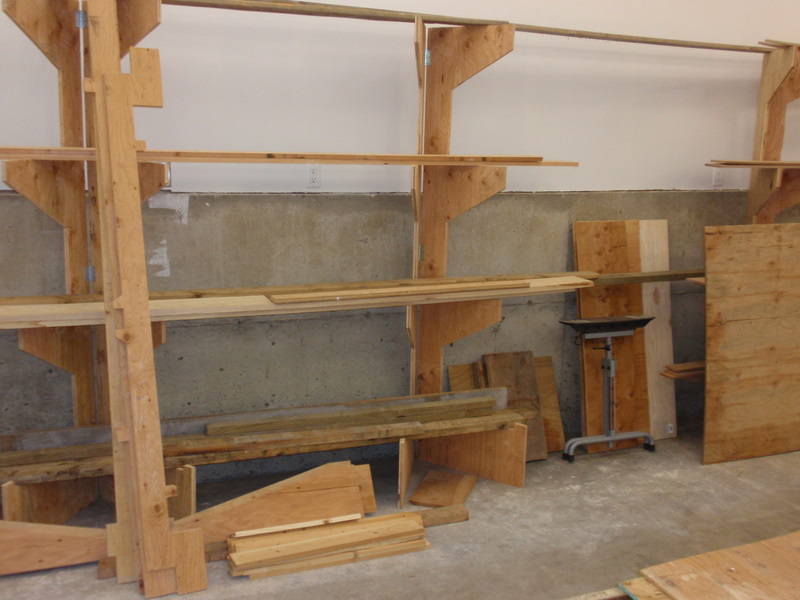
Step 1a: At that point, I realized I had to get some of the lumber lying around off the floor and out of the way. I found a pattern for a cheap rack, made from a sheet of 3/4″ CDX. It was easy and quick…worked well.

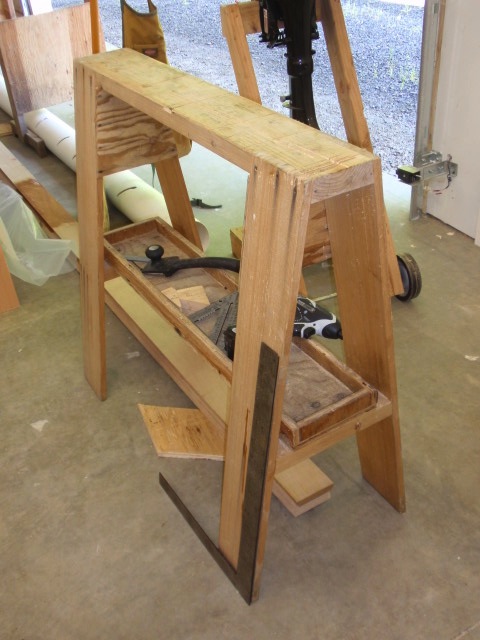
Step 1b: Then I needed a bunch of saw horses so I built four more matching the ones I already had. Unlike Renn’s saw horses, mine are unusually tall, which I find much more comfortable for a taller guy with a borderline back.
Now, let’s start building.