In the last chapter, I applied fiberglass tape to all the bottom seams and we applied fiberglass cloth to the inside of the bottom panels. Once we taped the keel or fairbody I clamped 2x4s across the chine flats to ensure that the bottom panels didn’t spread or otherwise loose their required shape when turned over and when hoisted up in the air.
At this point the bottom molds are to be removed and a different set of frames are installed at predetermined locations on the build frame. The first set gave me the shape and position of the bottom panels. This set will manage the framing pieces interior to the hull so that we can hang the side panels.
First we lay down the shelves which pieces were glued up earlier. The shelves will cap the sides of the boat. That is, when the boat is right side up, they will be on the top edge of the sides. Some might call them g’wales. From this point forward the hull will be built upside down, but I need the bottom out of the way so I can put other parts of the boat together.
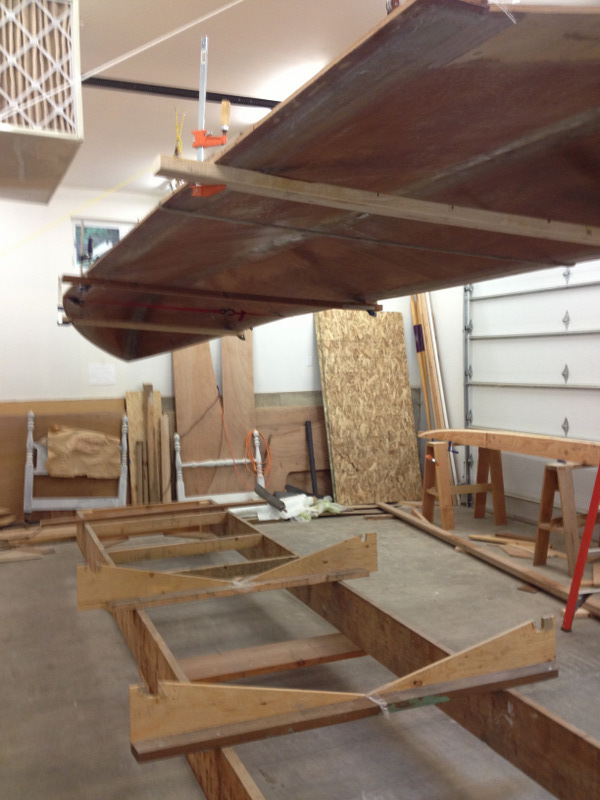
The bottom is hoisted up by a couple of pulley arrangements hanging from the ceiling. I used the set of pulleys that hunters buy to hang deer or elk when they bring them into camp. This technique turned out poorly. First the rope that came with them was much too small and slippery — not for the weight involved, but just to handle it. Then, for whatever reason and in-spite of the leverage that technically should have been supplied by the arrangement, it seemed to offer little more than 1:1. But it got the bottom up out of the way.
Below on the right is a view looking toward the stern. (Yes, I do have a well organized shop, don’t I.) You can see that the shelves have been placed on the building jigs. The transom will be installed at the end of the shelves.


To the left, the shelves come together at the bow under the stem. Although I haven’t shown the clamps, the shelves are clamped to the jig as Renn calls them, and held in place by the ‘L’ shaped notches on the end of each one. Their shape, size and location on the building jig are calculated to fix the position of the shelves relative to the bottom, stem and transom. Thankfully, the shelves come together perfectly under the stem. (Thanks again, Neal) I’ve clamped the board across them at that point to keep them in position, anticipating gluing the two shelve pieces and the stem together.
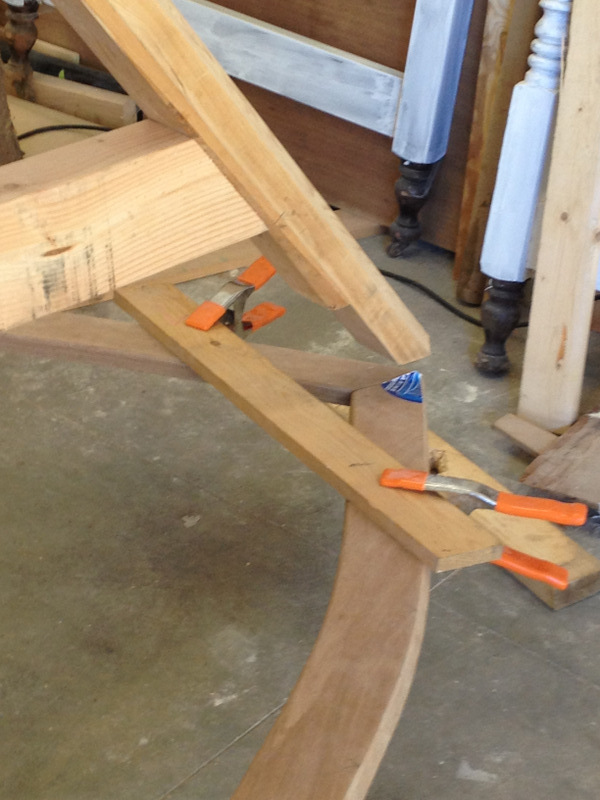
 Here we’re looking at the bow where the shelves come together under the stem. At this stage of the build process, the stem is attached to the large beam to ensure that it stays in precisely the correct position. It becomes an anchor point for sides and bottom at the bow. It would be nice if the bottom, bow stem and the sides all line up. :-0
The first step is to glue the shelves together, braced in position by the board across them and two screws placed horizontally through their edges. Second, I glue them to the stem and drive a couple of screws to hold it in position against the shelves.
Next I applied the transom to the rear end of the shelves. What follows are a couple of pictures, showing some of what is involved. The slots you see on the top of the transom (remember that it is really upside down at this point.) will accept the two stringers. Think of them as backbones.
Looking at the transom newly installed on the end of the stringers, you can see a brace used to ensure it stays at the right angle – 12*. 15* was also an option, but as a kit, the slots and ends weren’t cut to accommodate that angle. As I was working on the boat and checking the angle on the transom, I found it varied from 12* to 14*. My conclusion is that with the full weight of the transom on the ends of the shelves, they were flexing up / down just enough to impact the angle. Later on, I “fixed” it by modifying the sweep of the shelves. More on that later.
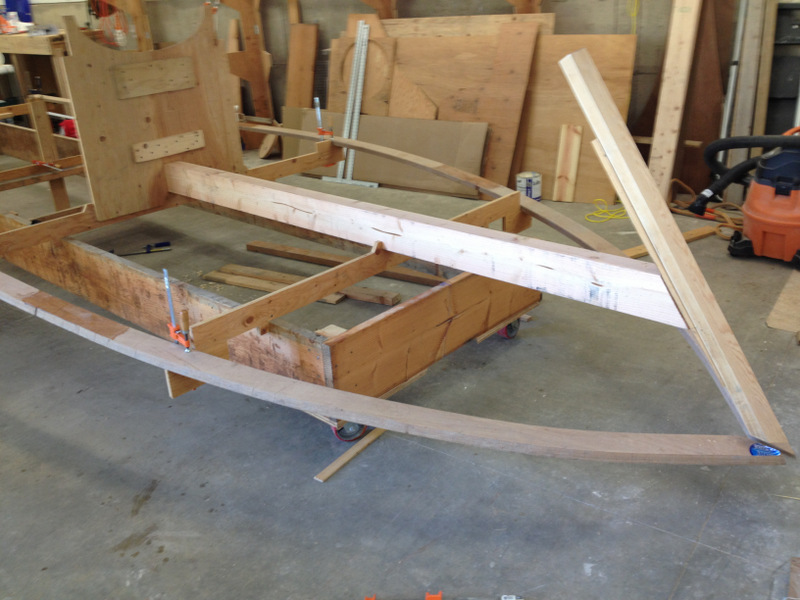
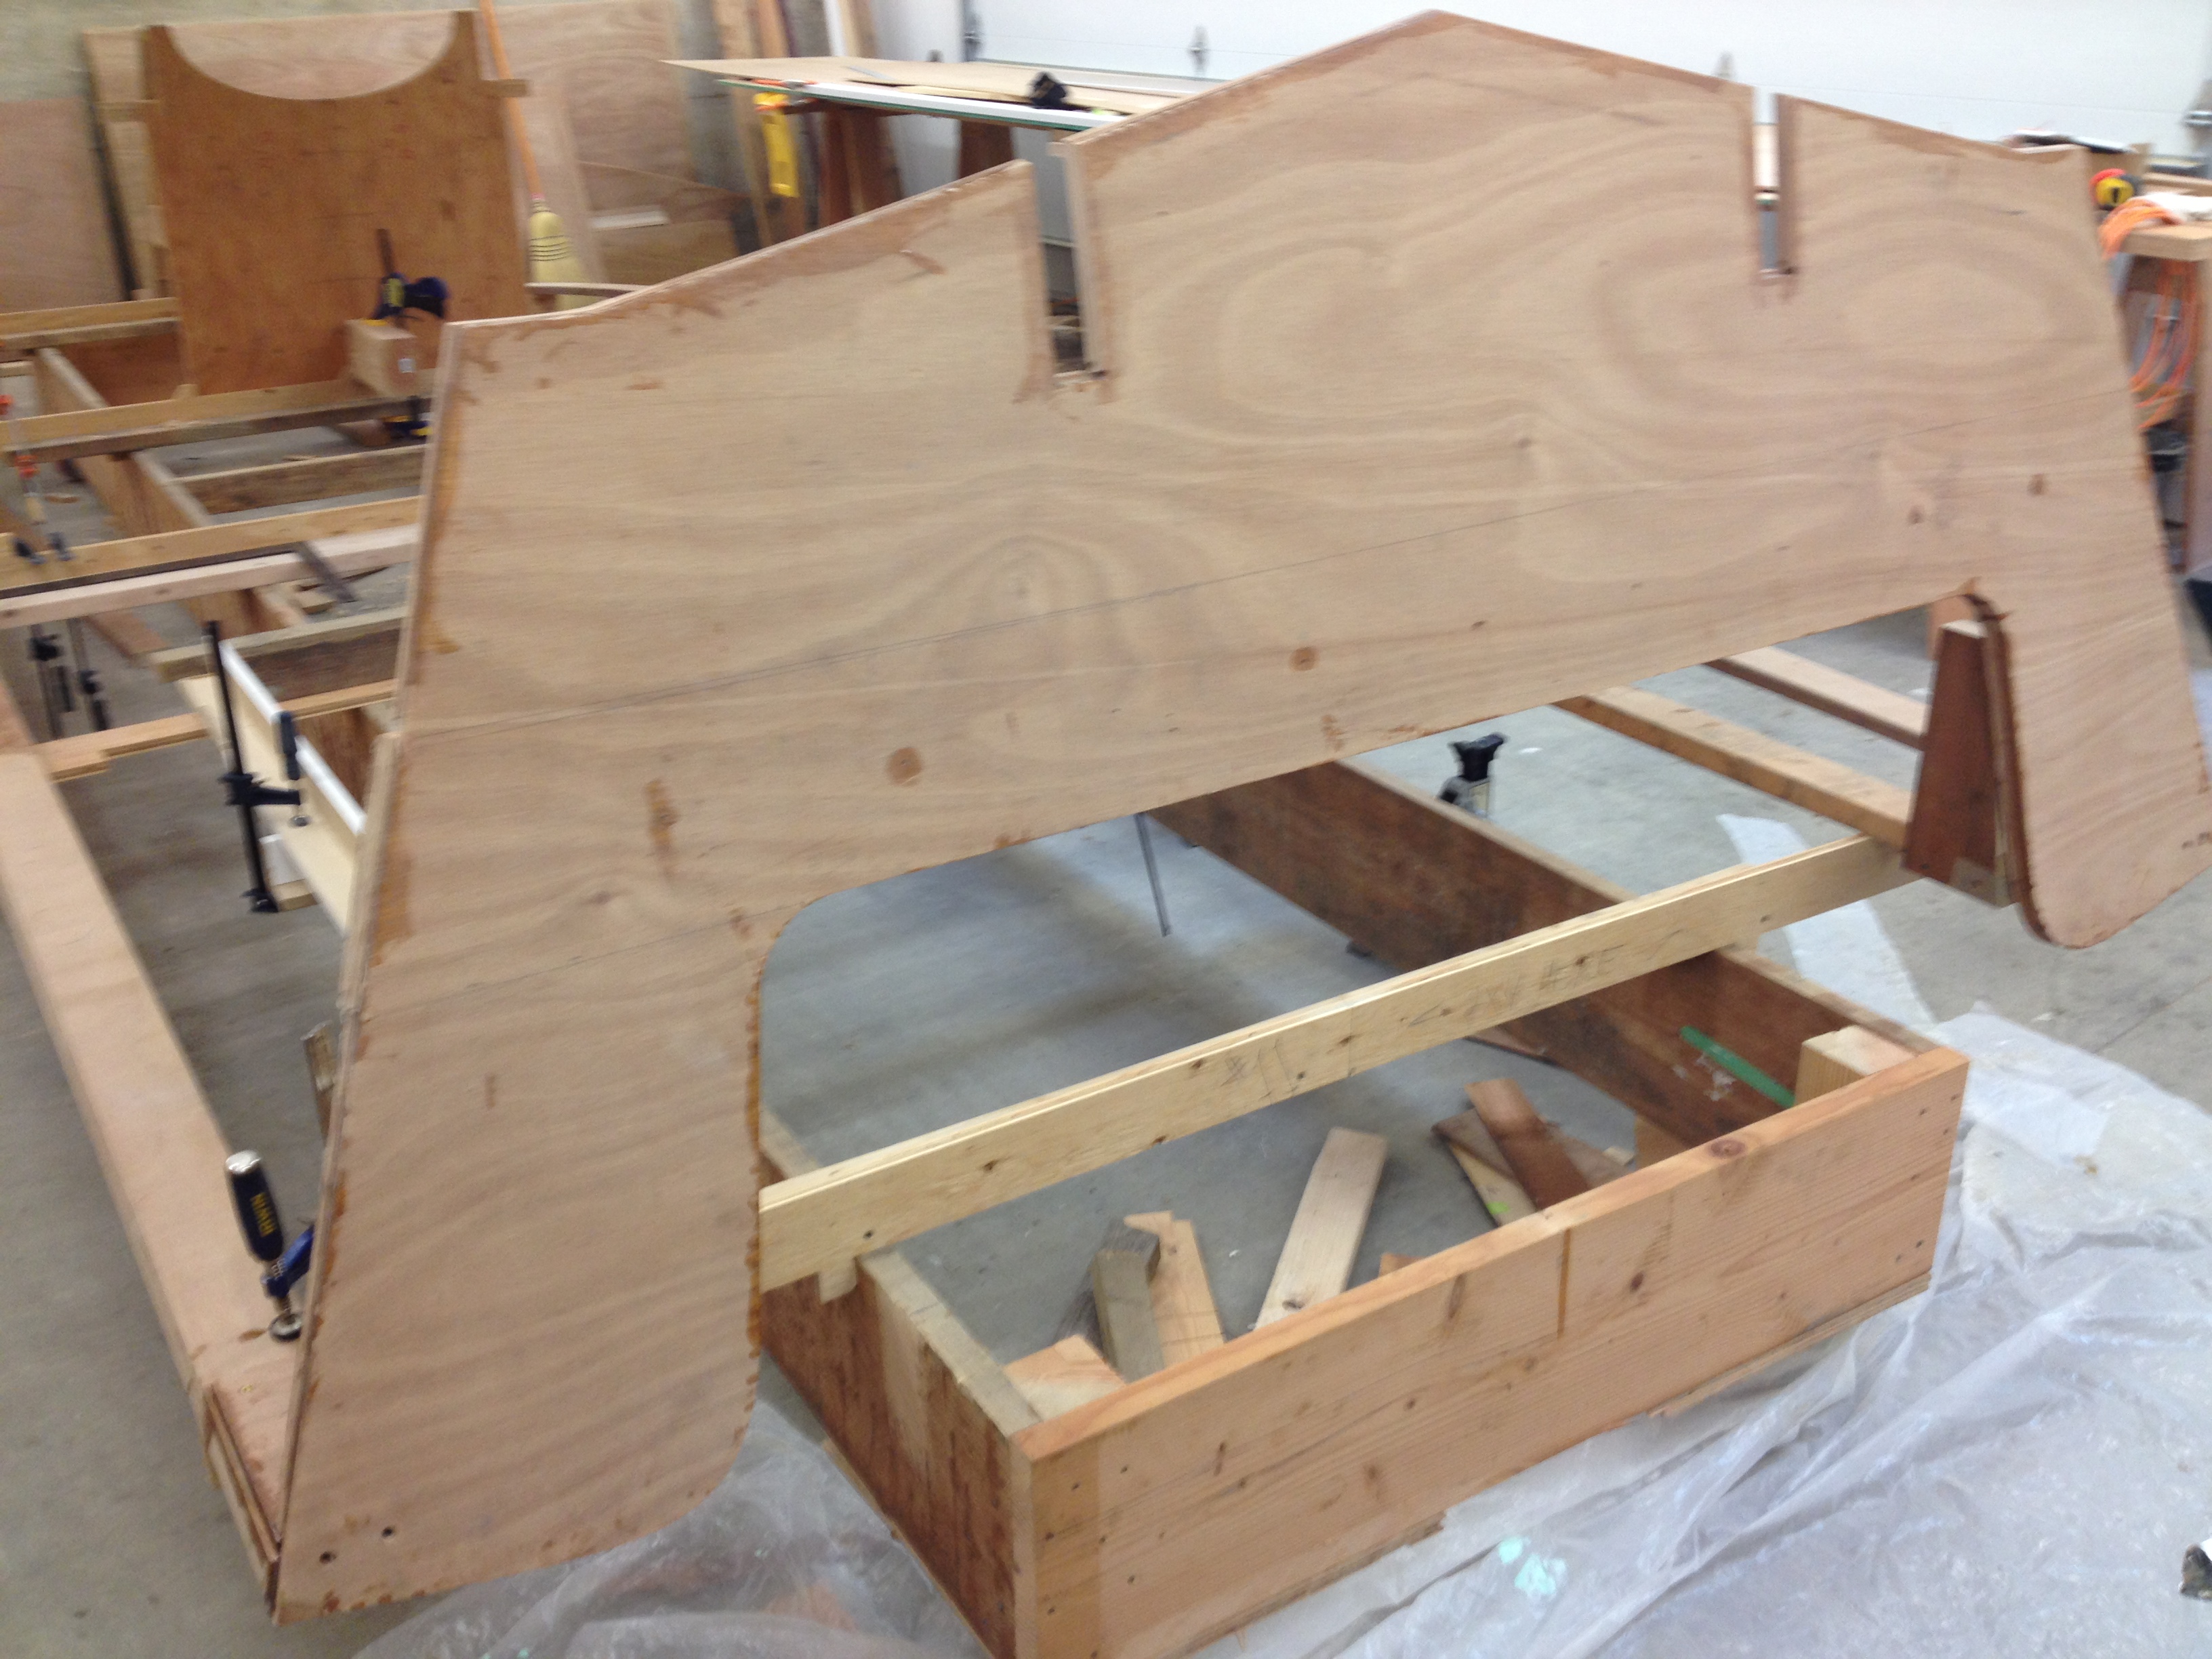
 Overhead we see the bottom hoisted up and out of the way for now. Below we have the building frame supporting the jigs positioning shelves and a transom mounted on their end. On the left side of the picture you can see the 4X6 beam securing the stem in place. The oddly shaped thing at the end of the beam is called a horse. It will temporarily support the stringers. The purple circles show where the stringers will be positioned — on the transom and on the horse.
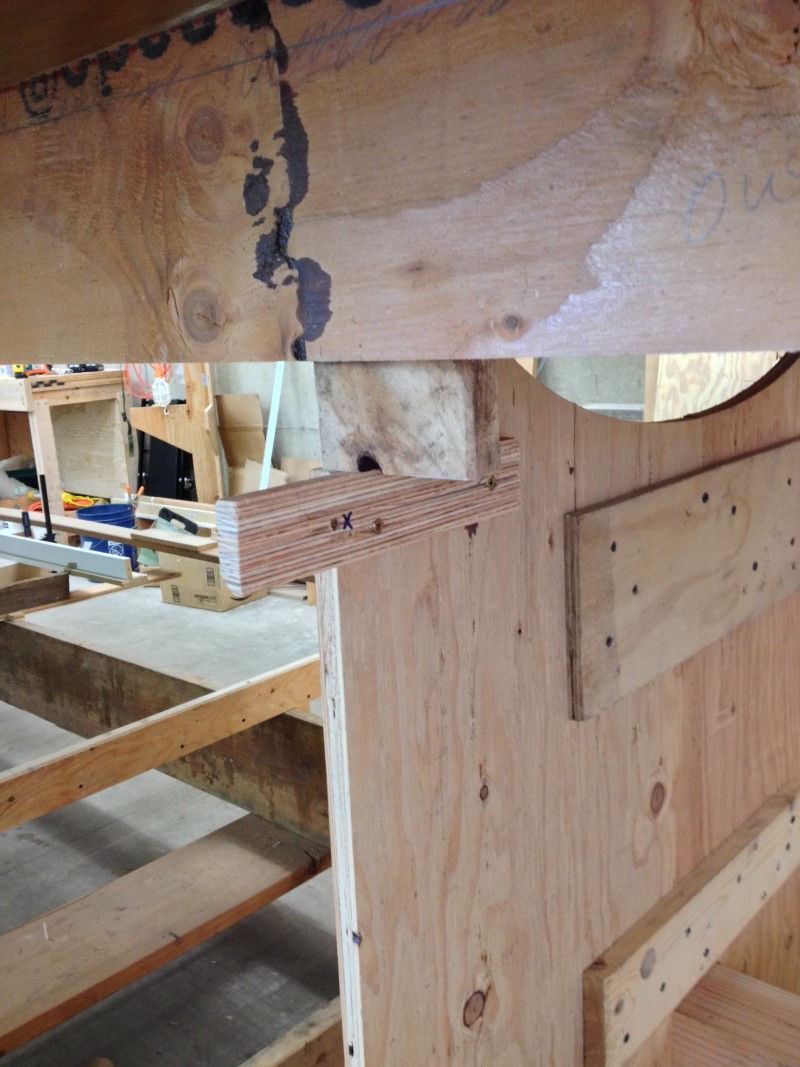 One of the keys to getting everything to line up straight and fair, is making sure everything stays level and plumb. It starts with the building frame — level and square, and a bit later the stringers, which must be level with respect to each other and the same height off the building jig at both the transom and the horse. When I measured this, I discovered that I needed to raise the bow end of the stringers by ~3″ for them to be level end for end as well as with each other. The most likely cause is that the horse was mounted on the building frame incorrectly, i.e. too low. <sigh>
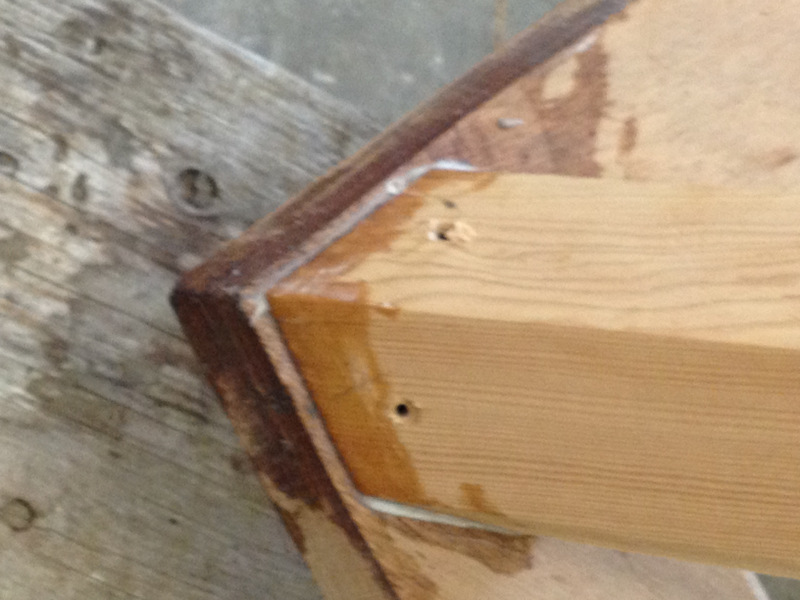
 At the bow, we have the stem onto which the bottom must fit. This is a challenge because the inside of of the bottom at the bow is curved and when the fillet and tape is included, the final shape is somewhat unpredictable, and is not according to any drawing that can be used to guide shaping of the stem. In my case here, I placed too much fillet such that the glass tape at the bow fairbody (keel seam?) was much thicker than what it should have been. So initially I wound up with a serious misfit as the following picture shows. Mostly the bow part of the bottom is held away from the stem by way too much fillet.
 Since the inside of the bottom, the fairbody can’t be changed much, the bulk of the modification is carried by the stem. In short, the stem gets carved to fit the fairbody. If you compare the square stem with the final product below, you’ll see that the upper end gets modified quite a lot. This is difficult because it’s near impossible to see exactly how it fits, so I wound up shaping, trying it, shaping, trying it, etc. Because my fillet / tape inside the fairbody was so thick, I also wound up grinding out a fair amount of material there.
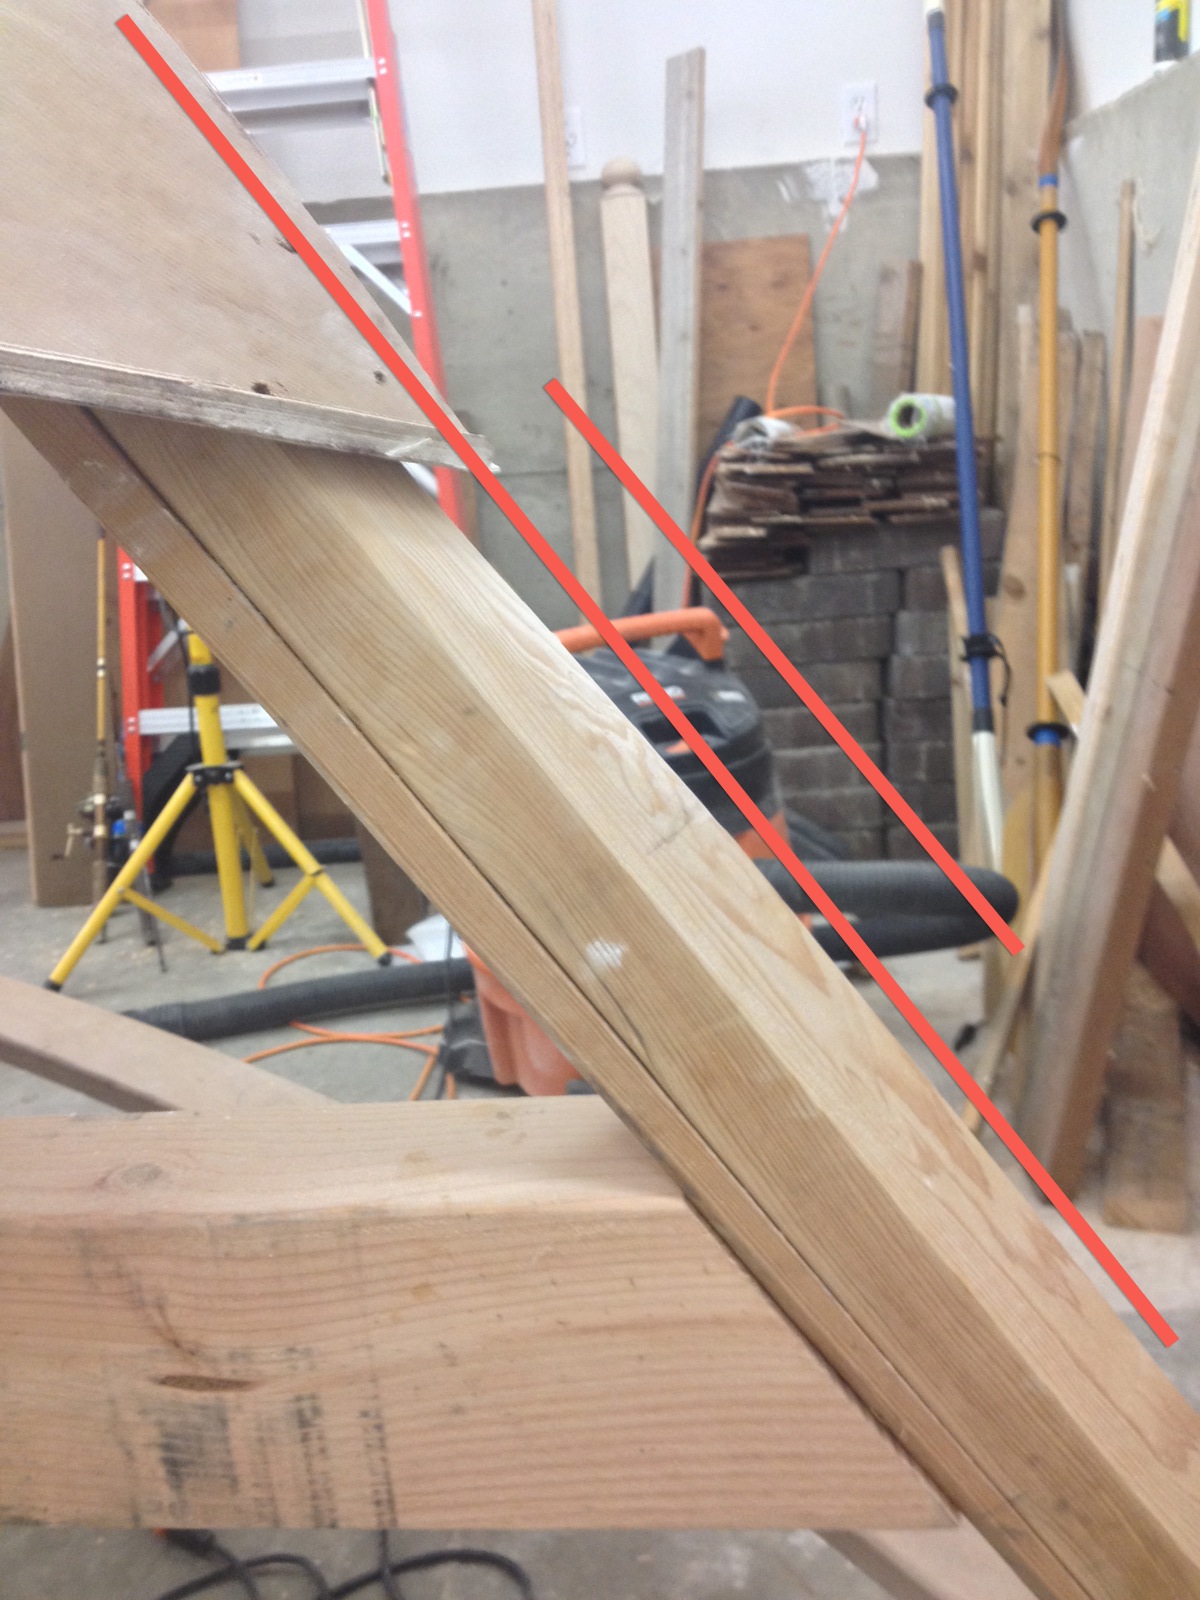
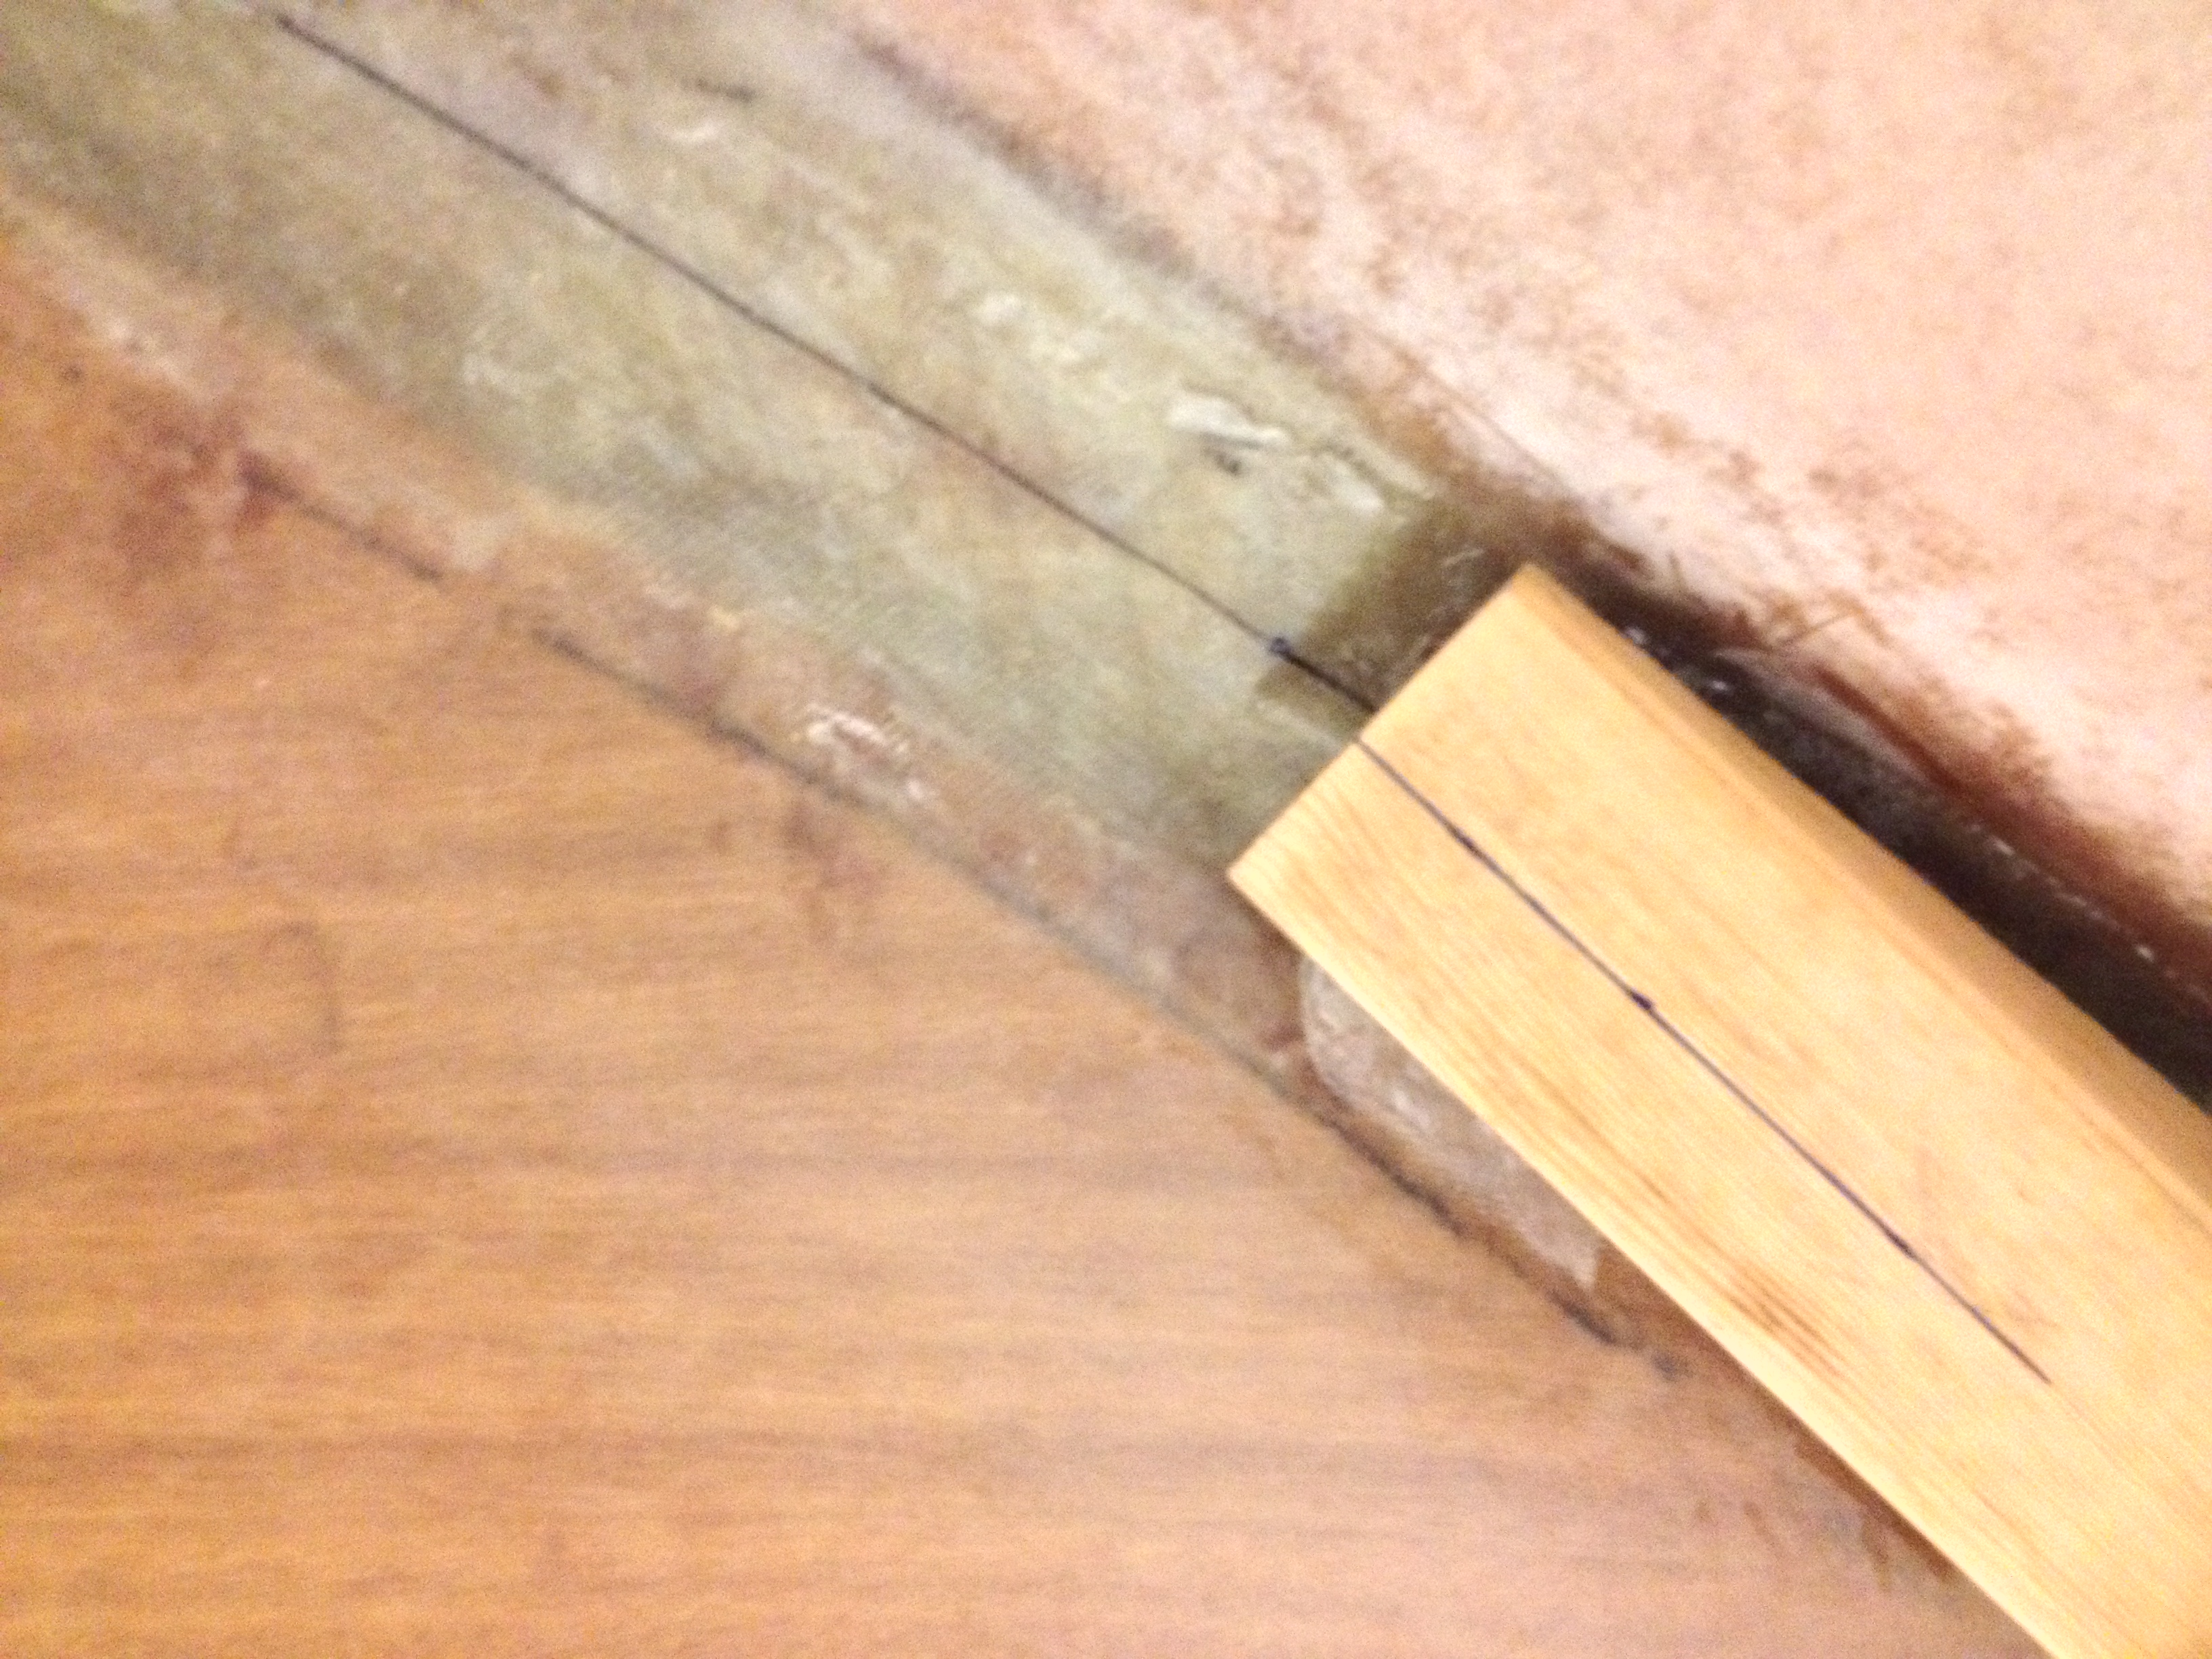 As I worked at it, I became concerned that the curve of the fairbody was not going to match the angle of the stem. It was difficult to get a good read on it by just looking at it, so I took a picture (below) and used a drawing app to lay in a couple of straight lines. This convinced me that at least for the time being things were working.
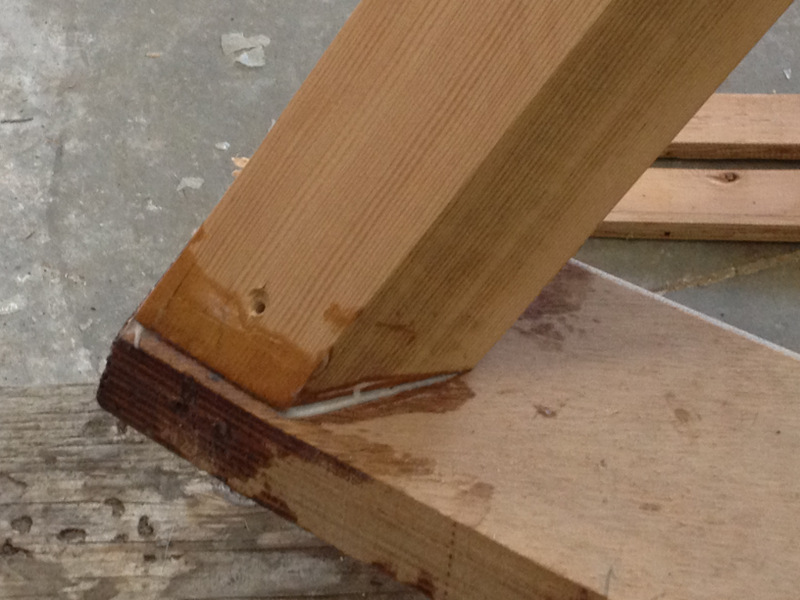
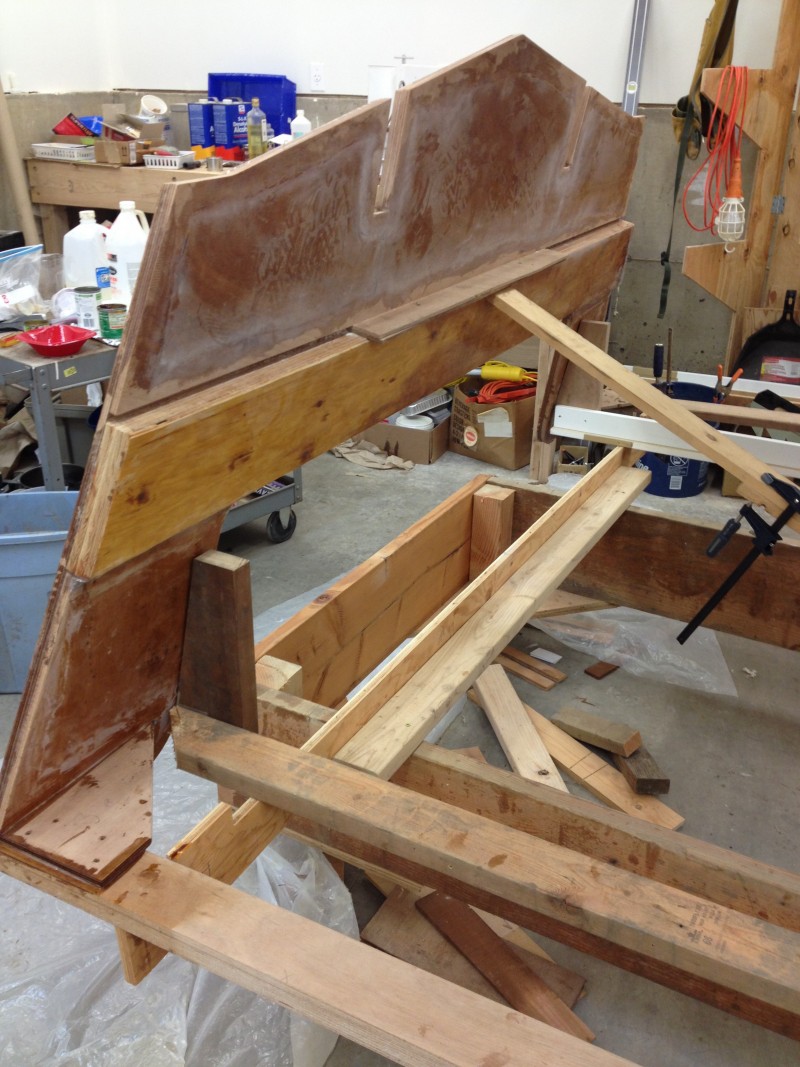
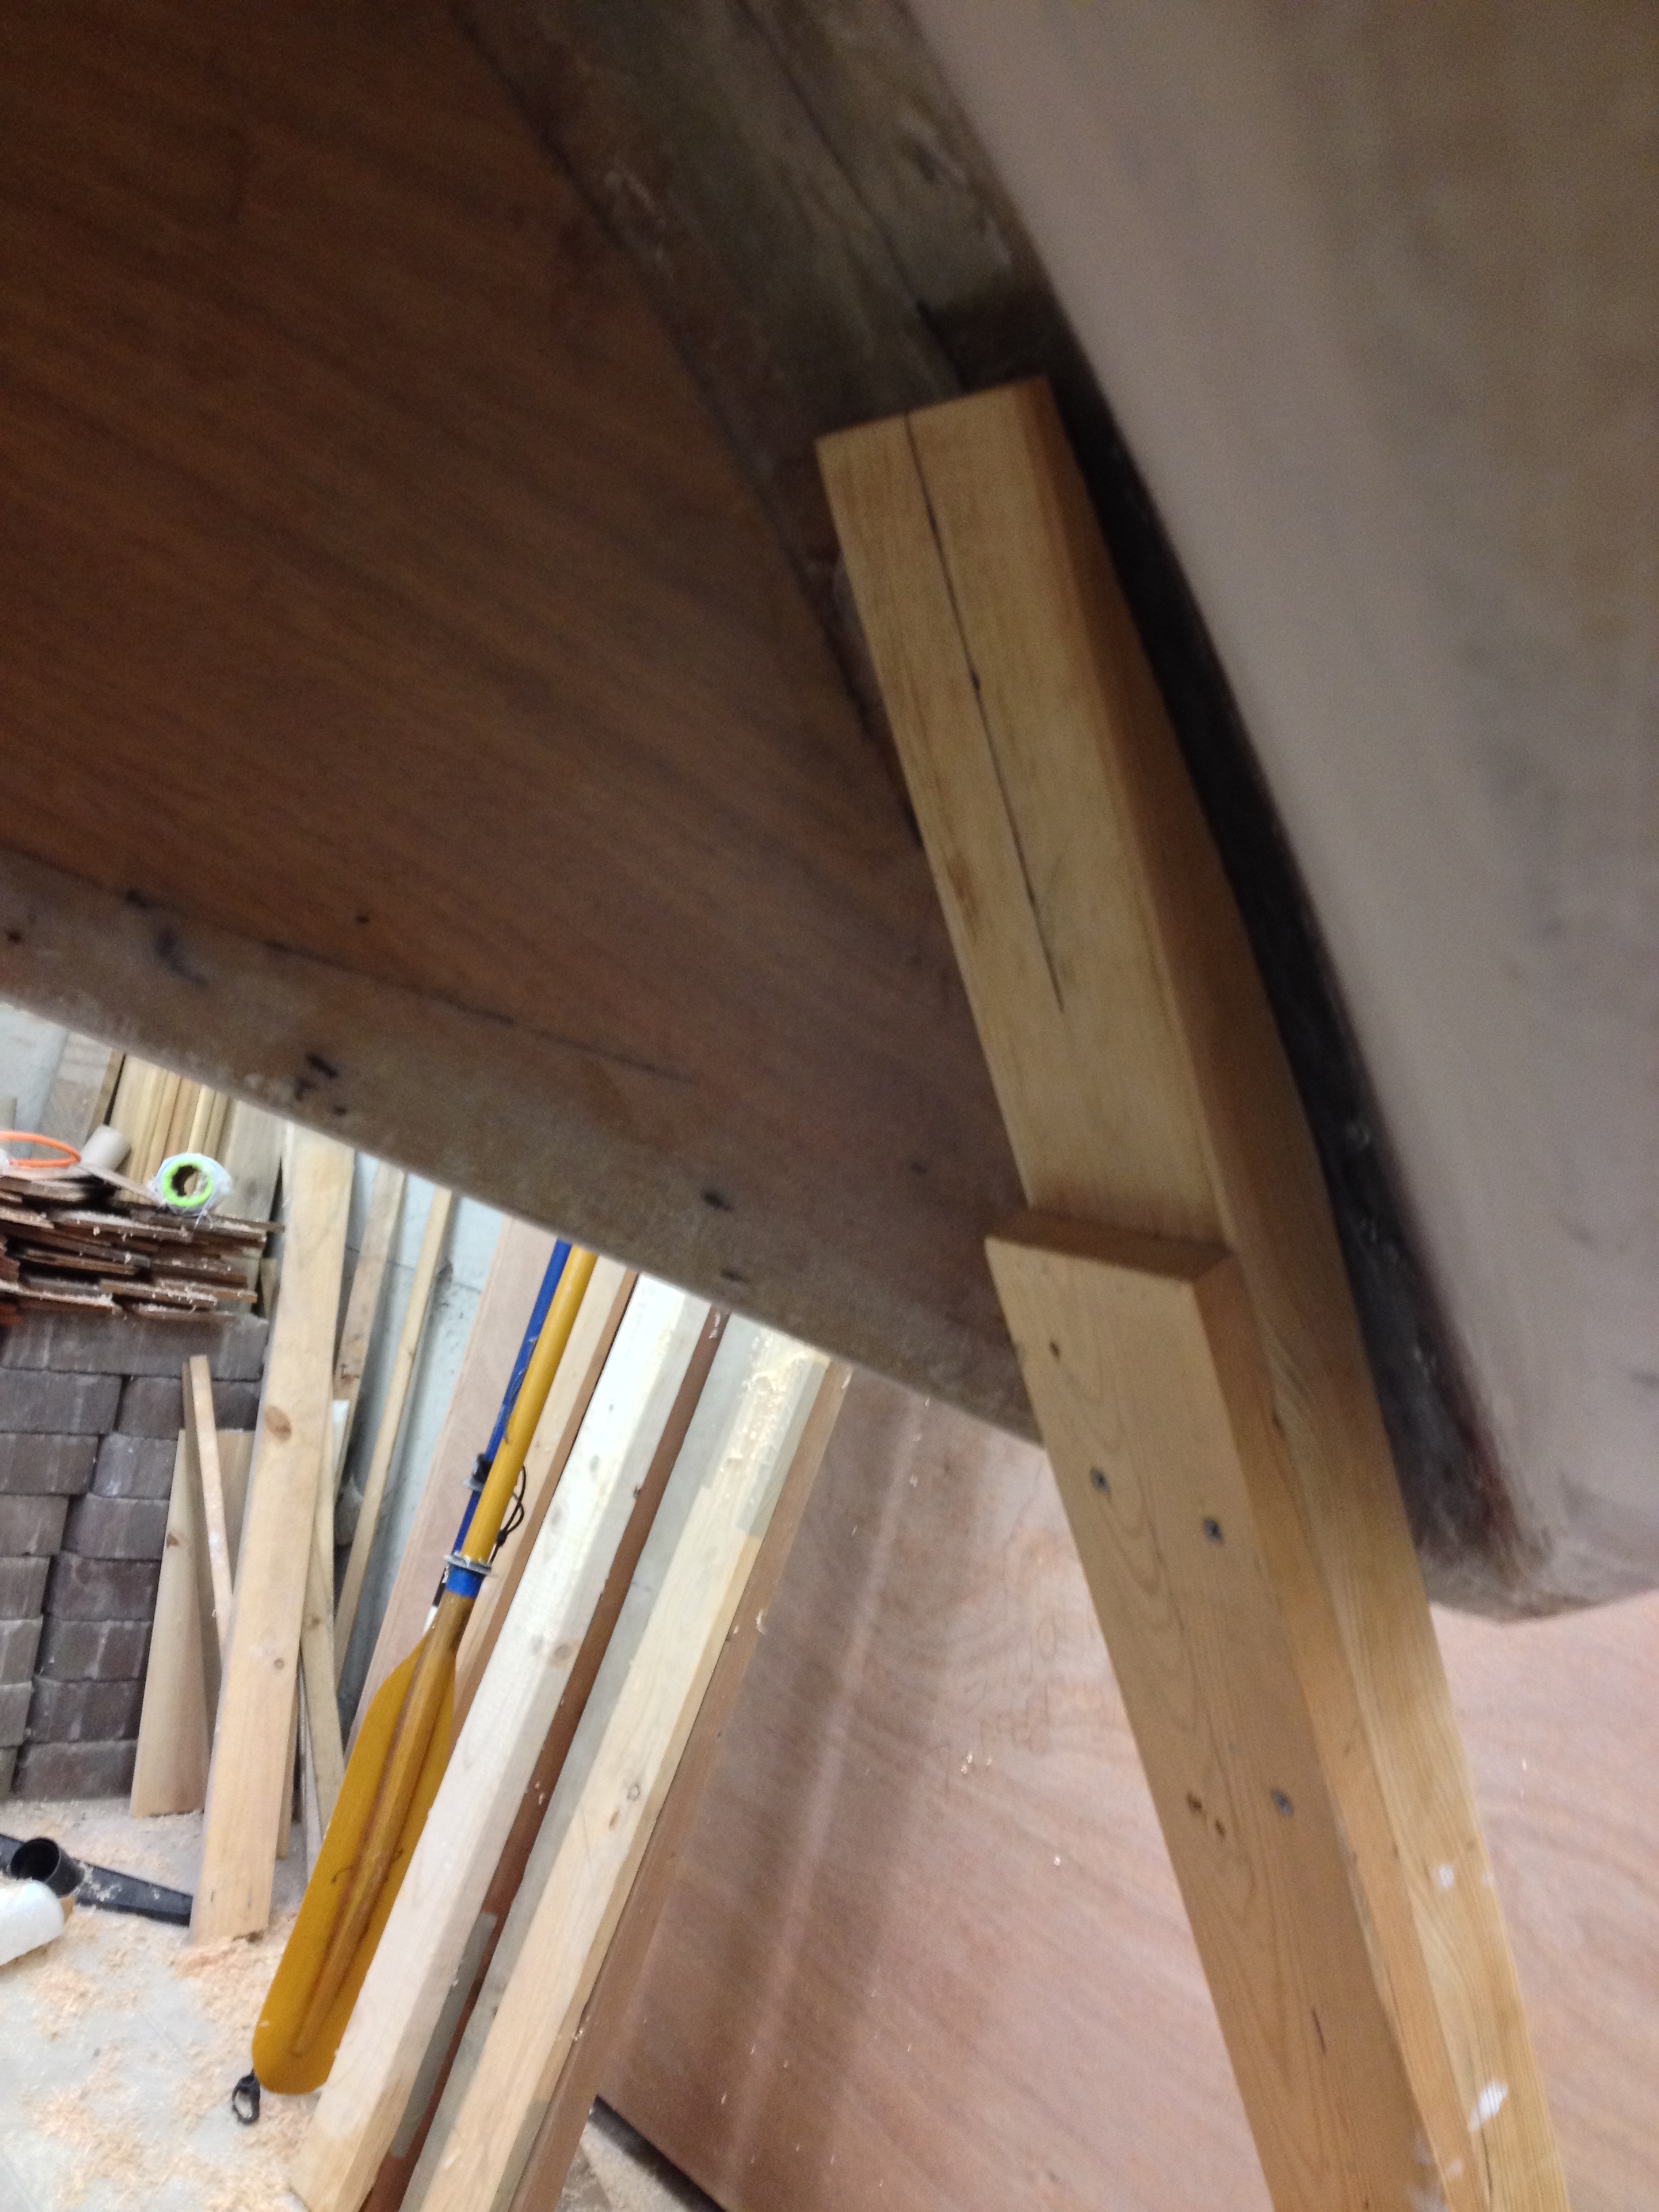
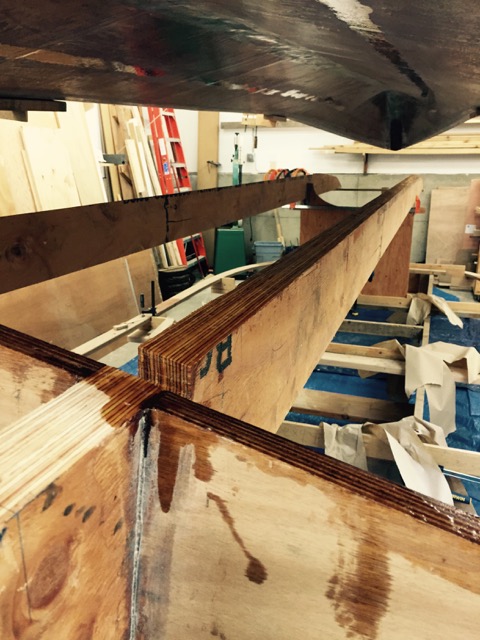
 In the following picture, I have the stringers in place at the transom and at the horse. The ends of the stringers in the transom slots are epoxied in place. By this point, I’ve worked the stem to the point that I’m satisfied and adjusted the bottom back and forth so the fit is good.
 I’ve now glued the stringers into the transom slots. Forward you can see the stringers resting on the horse. Now I’m ready to spread epoxy and bring the bottom down into its proper position with regard to the transom, the stem & stringers.
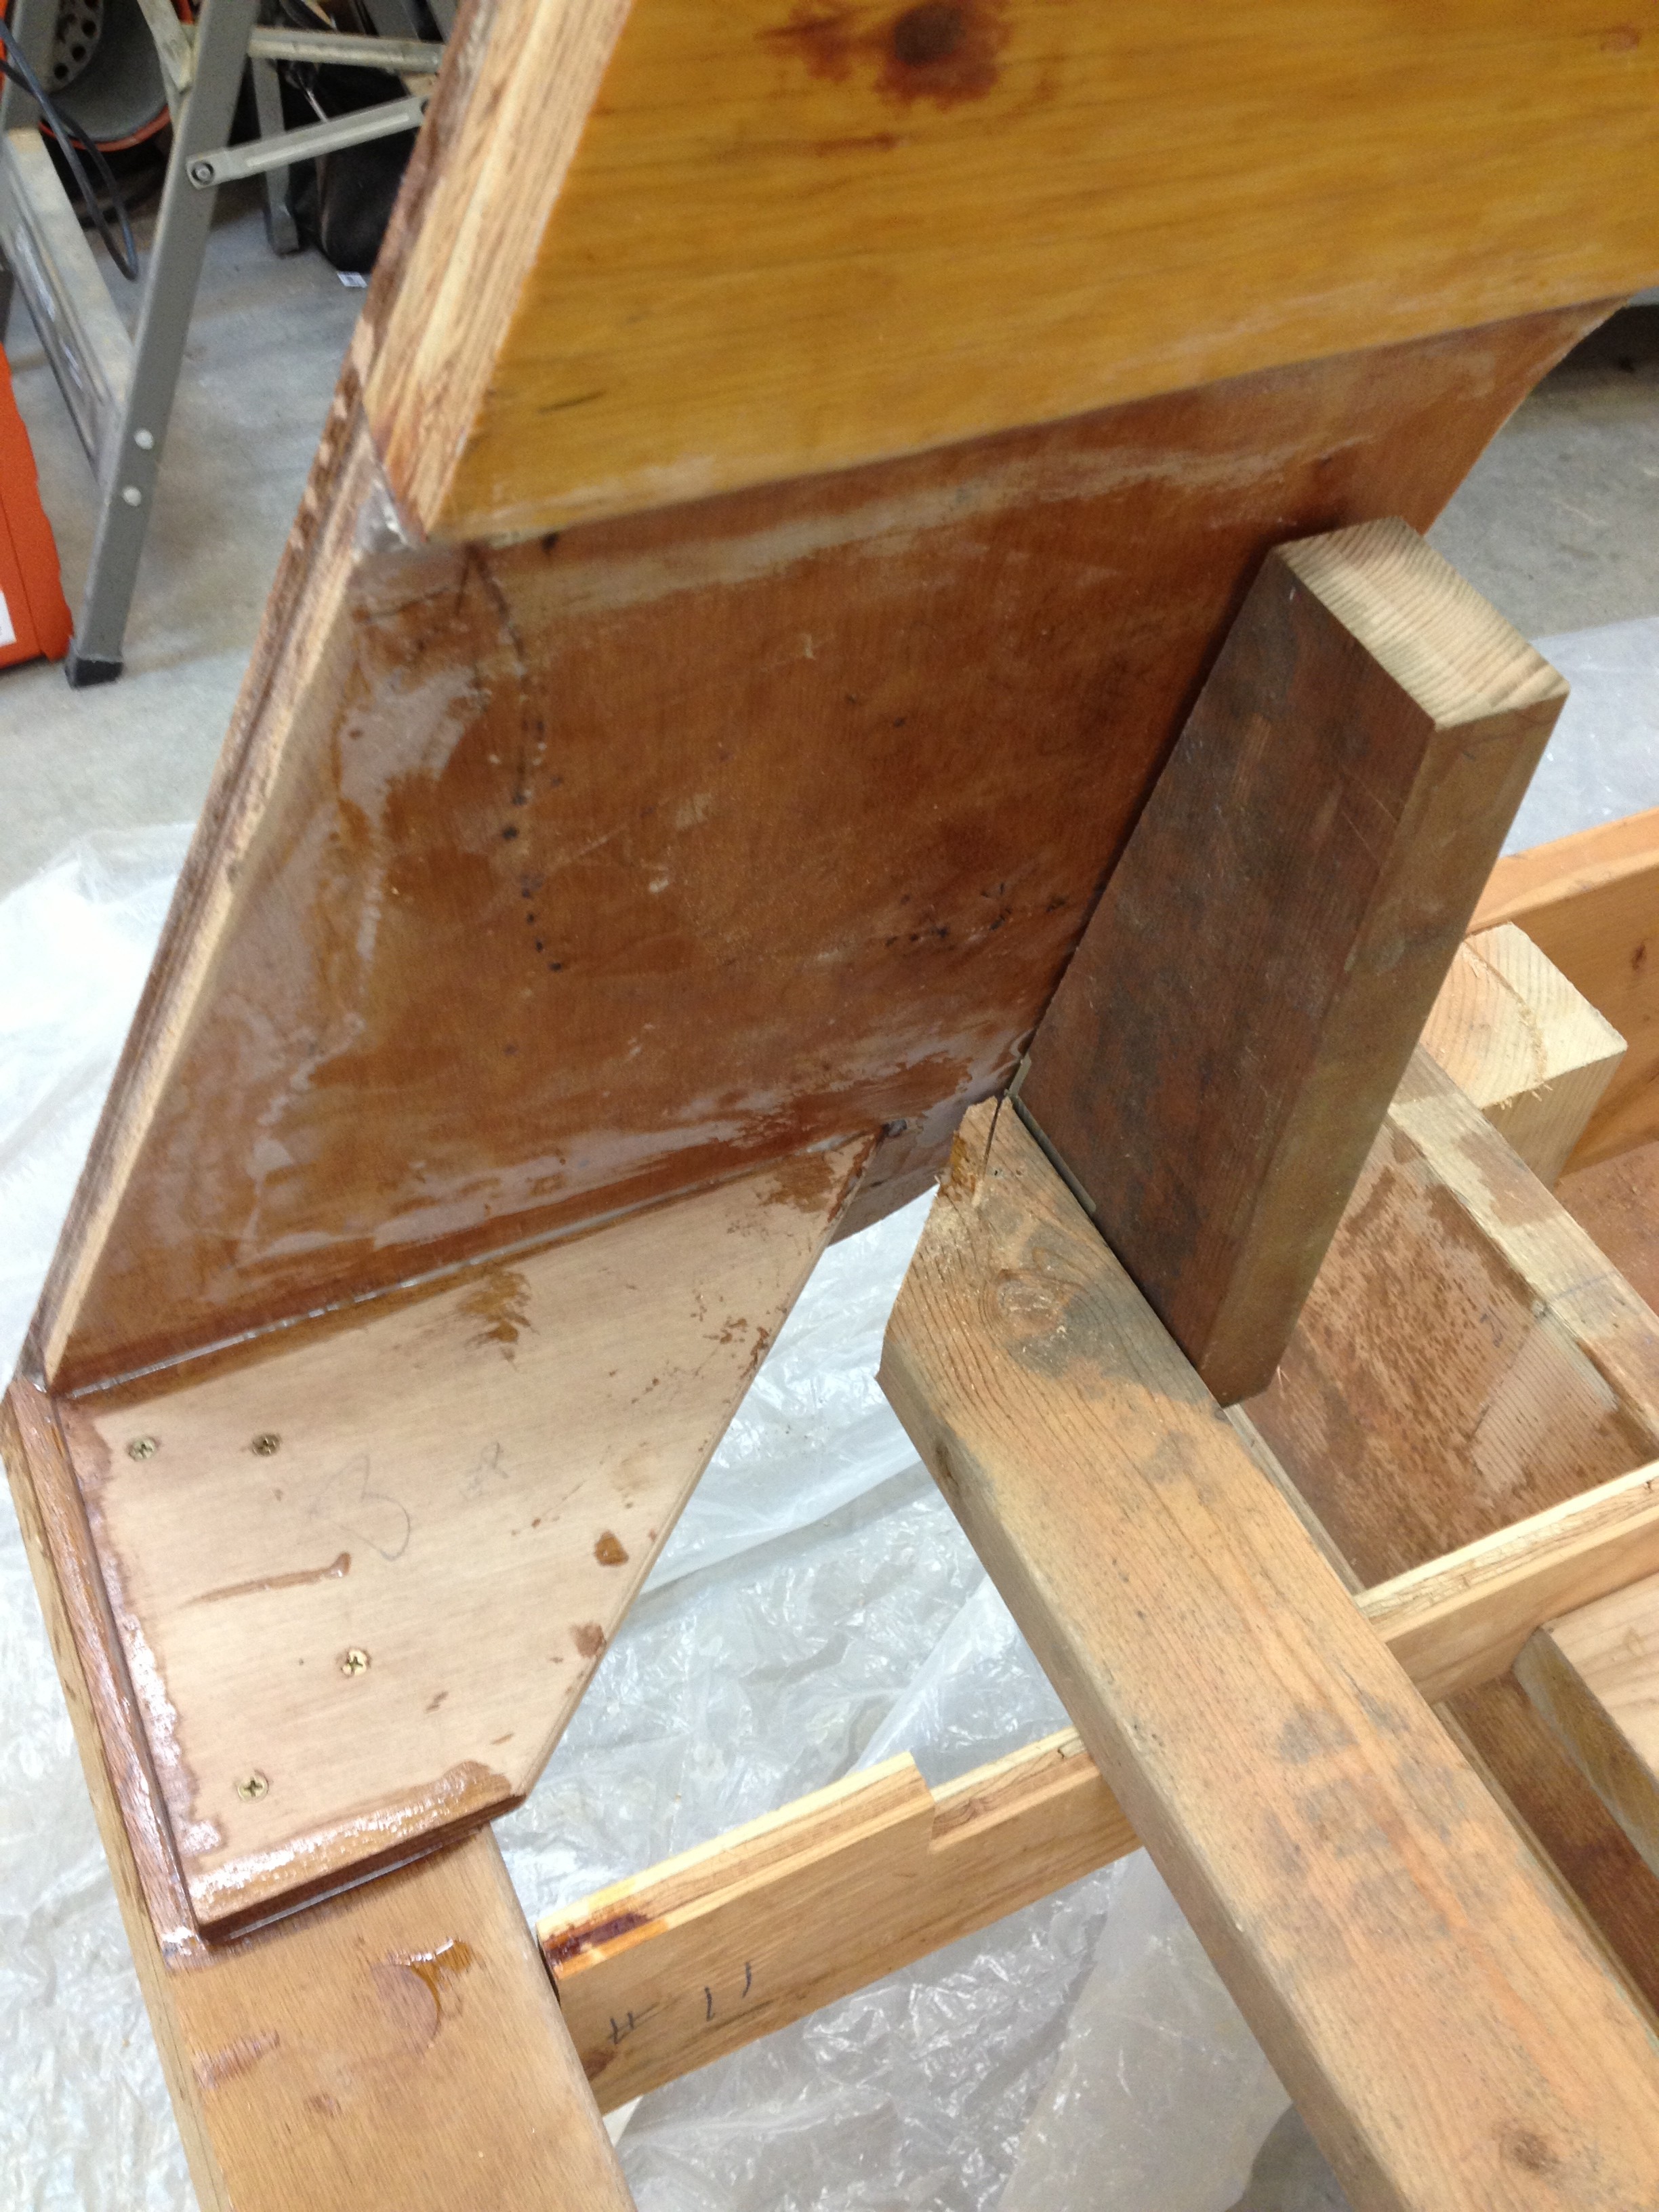
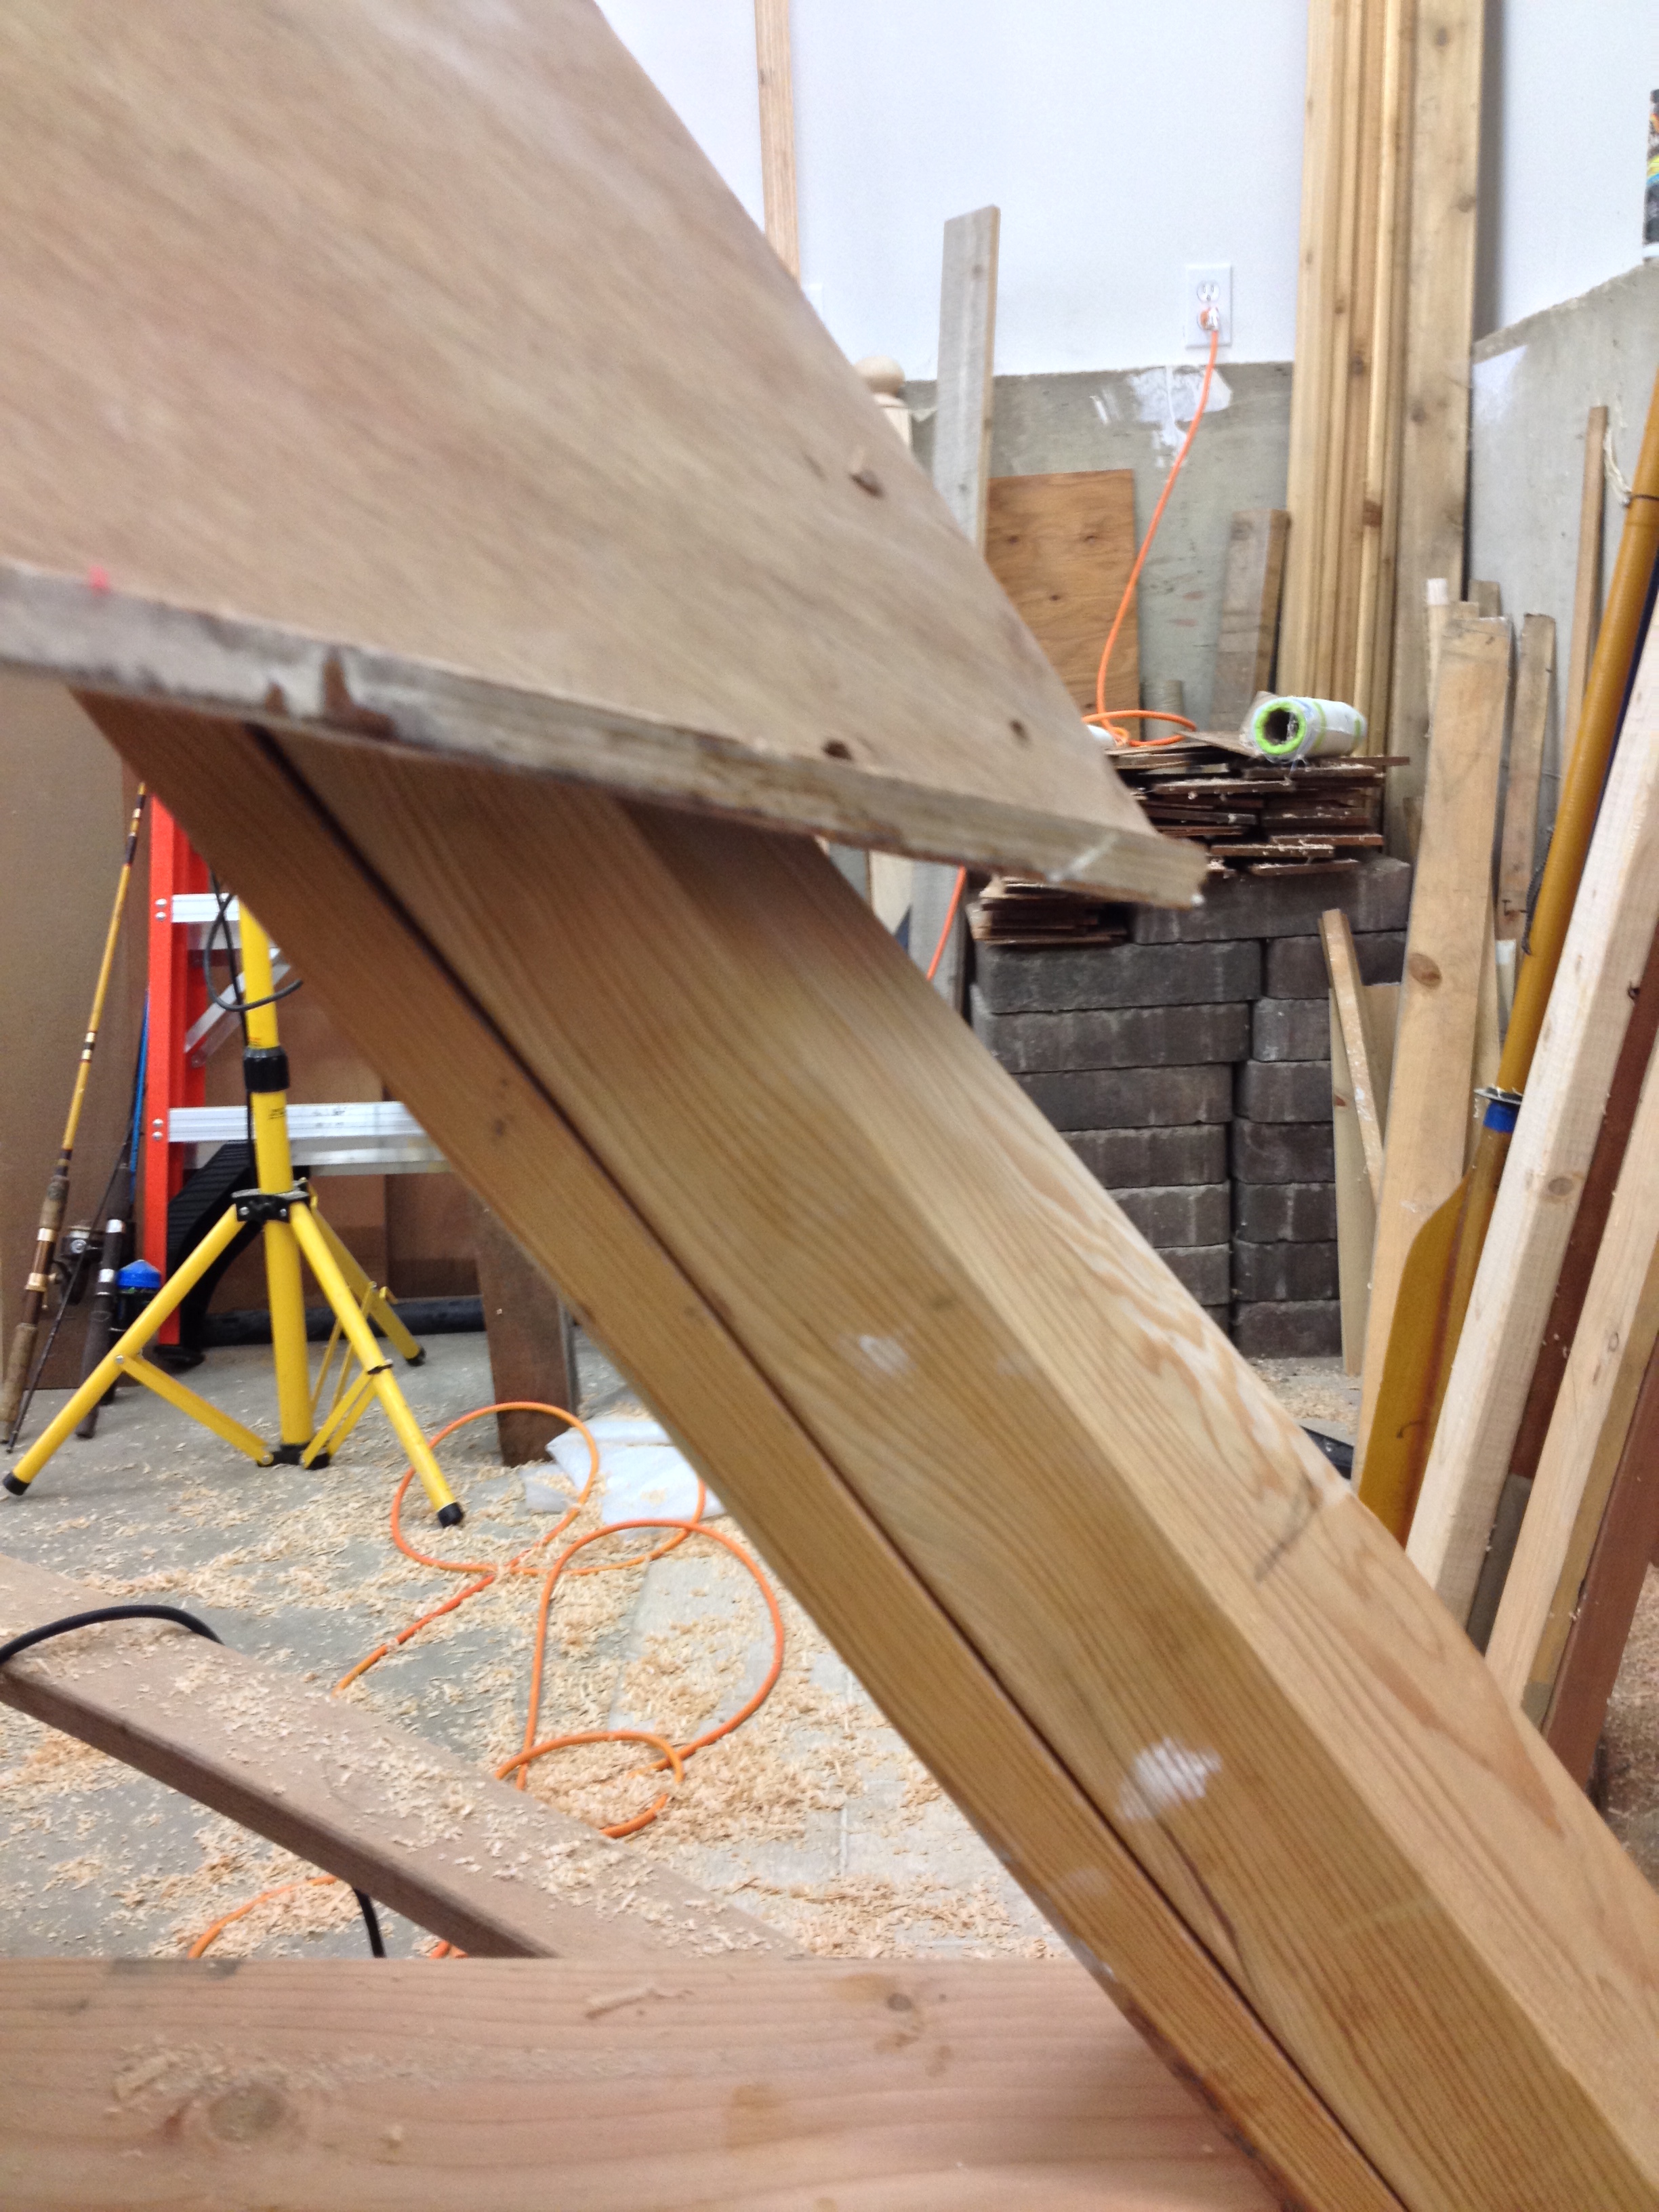
You can see the blue tarp on the floor in what turned out to be a largely futile attempt to keep the epoxy off the garage floor. You can also see the brown paper towels used to wipe epoxy off everything as we go.

I bought a case of the rolls, so I have lots and they’re cheap. Next chapter will see the bottom in place on the stringers and work on the sides begun.