In this chapter I describe the process of hanging (installing?) the sides. Earlier I showed several pictures of scarfing, but below is a repeat to remind folks. Note the feathered end/edge, needed for the scarfing task.
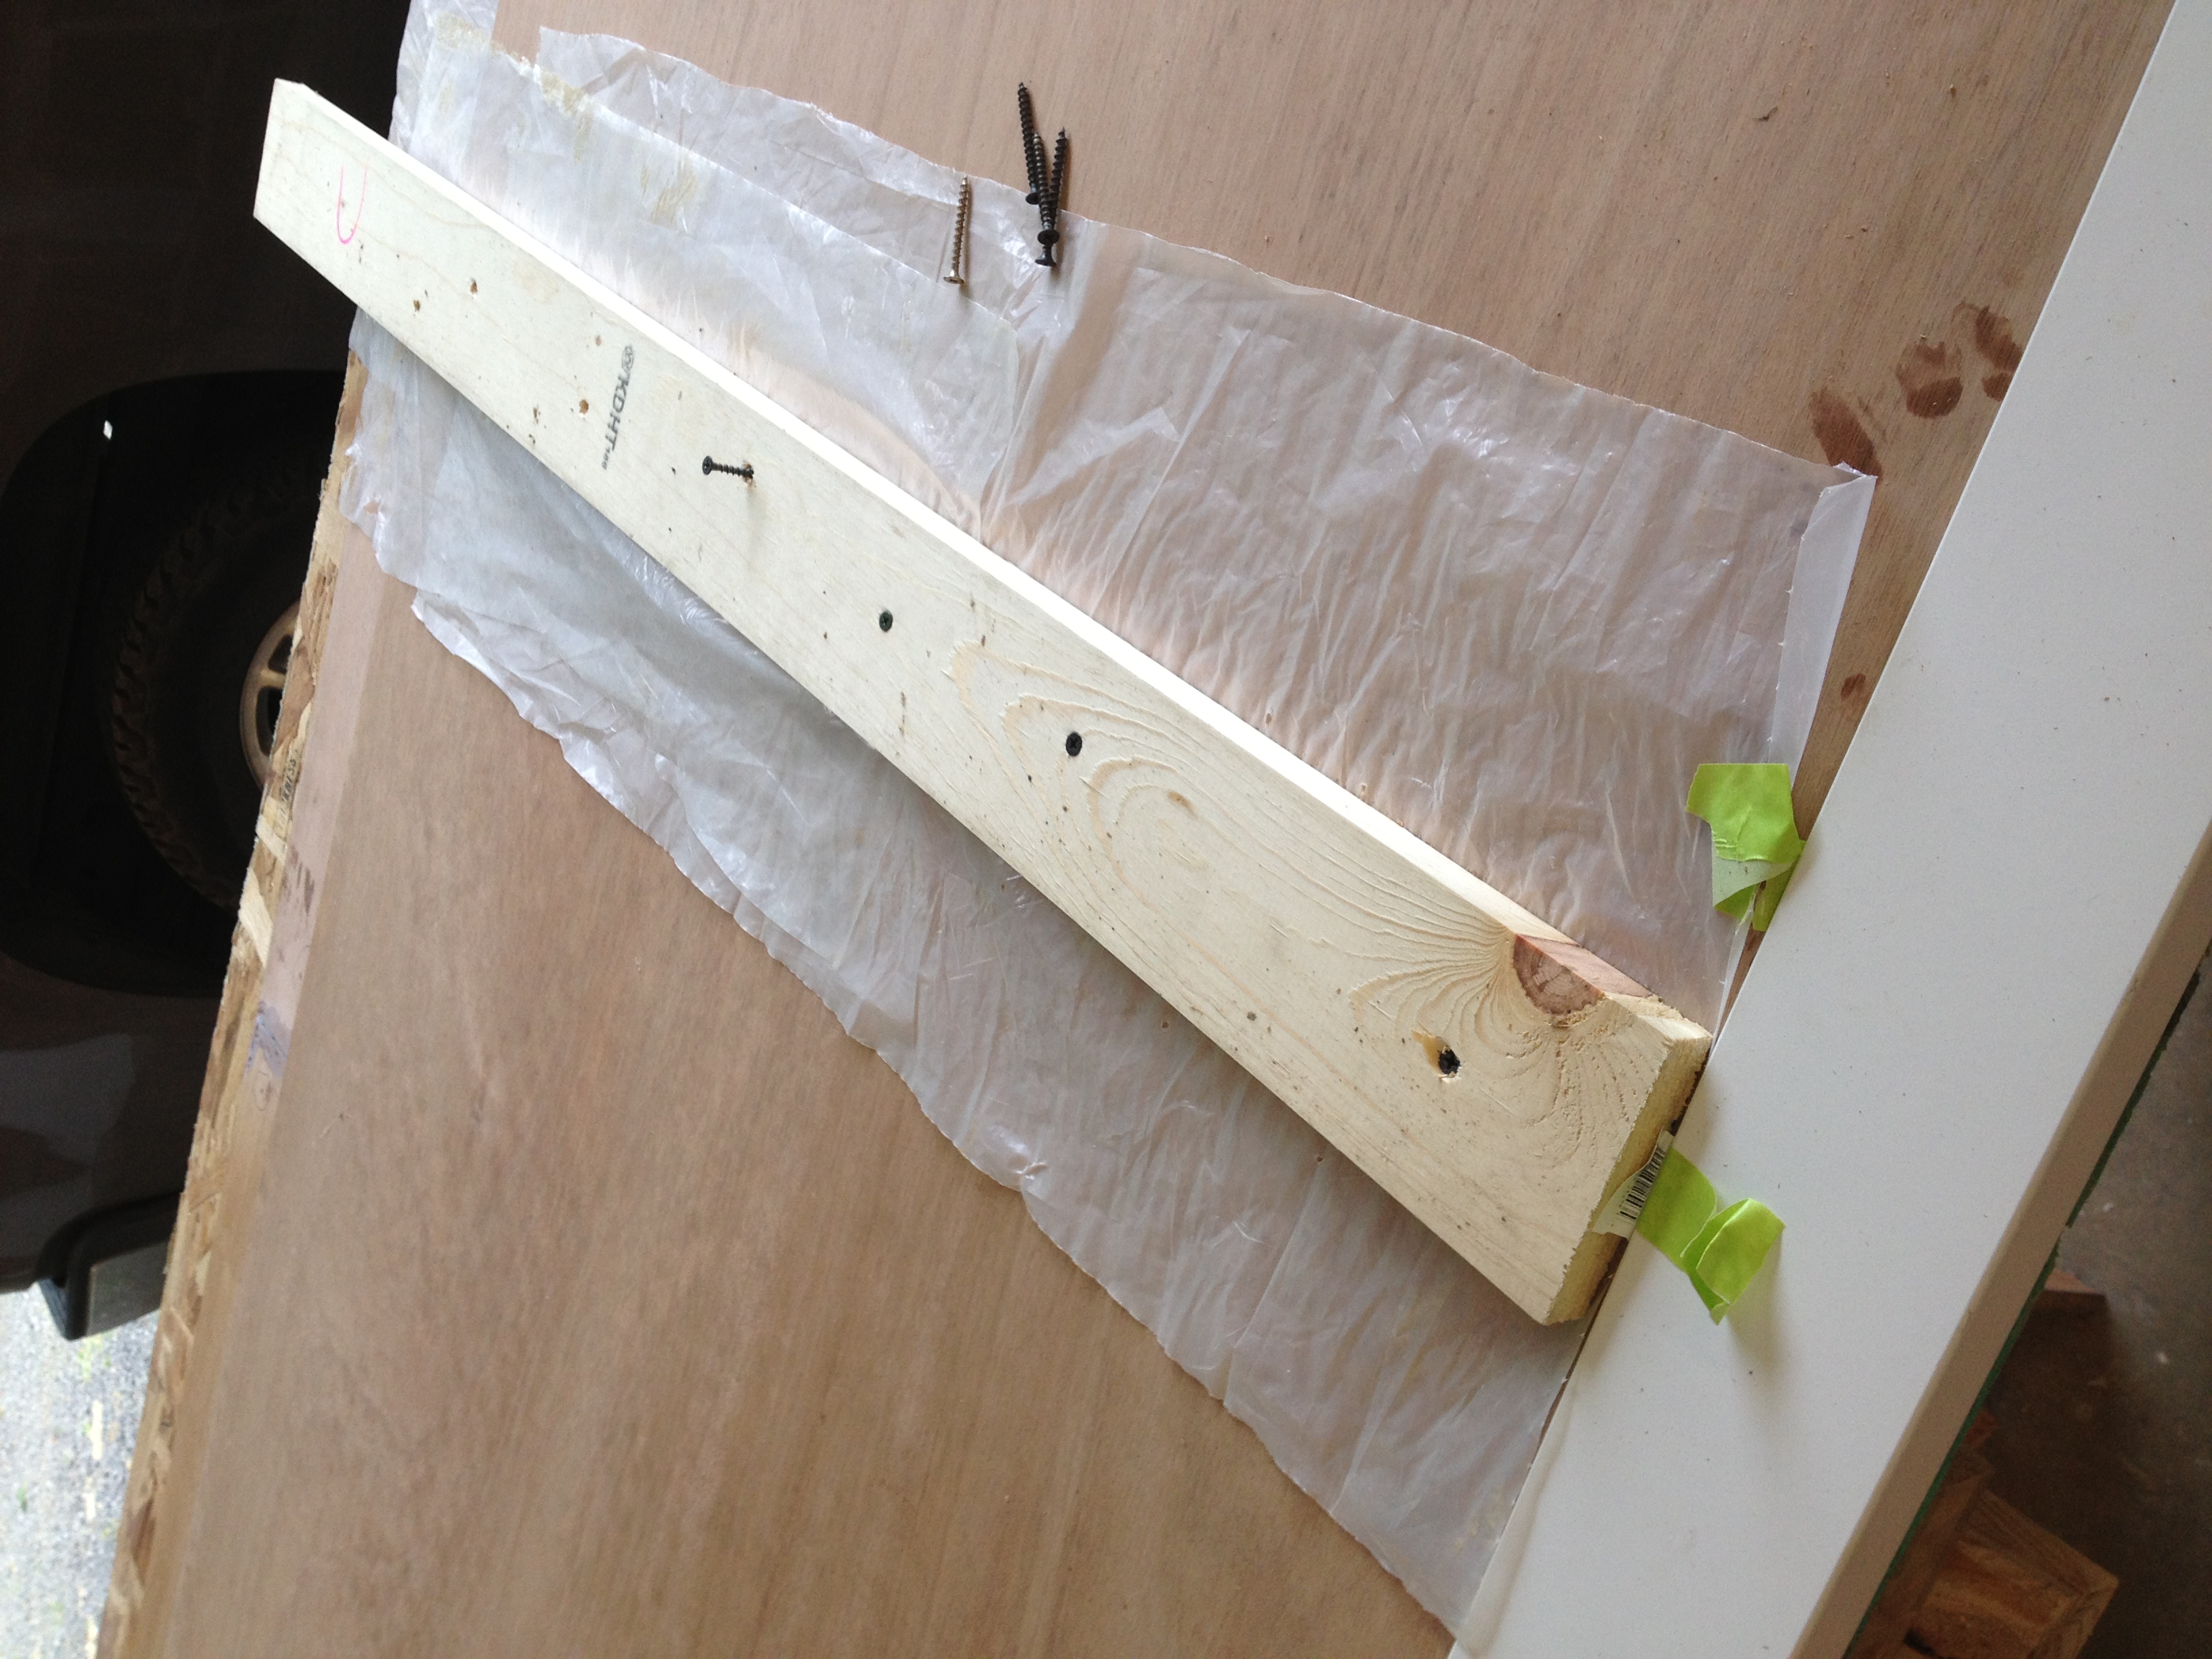
Below is an example of the scarf joint with two panels being turned into one long one of ~16′. I’ve spread epoxy — both plain and thickened a bit, then I have to clamp them together. Where this is being done I can just take a flat board and screw it to the underlying wood table top. The plastic keeps the board from sticking to the panels. The white board at the bottom of the picture is my straight edge to keep the panels a straight as possible with regard to each other.
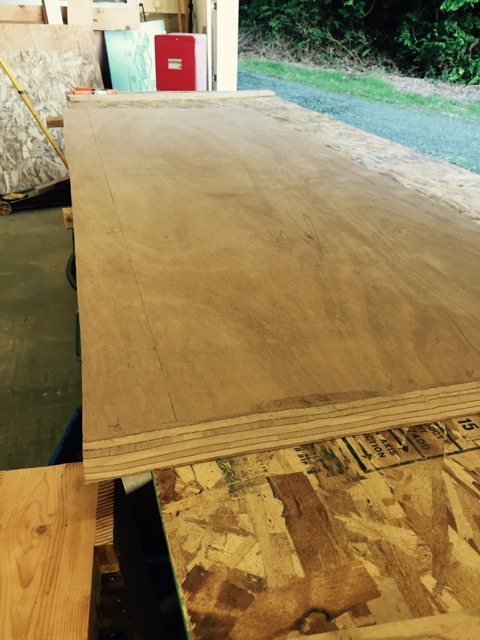
 Next is a long panel (2x~16′) glassed and ready for hanging. To glass up a panel, the following steps take place: 1) Cut the material to size; 2) Lay it out on the panel and position it as necessary to verify it fits; 3)Remove the cloth and spread unthickened epoxy where it will go; 4) Lay the cloth down (roll it out) again taking pains to ensure that there are no wrinkles or bubbles and that the cloth is fully wet out. I know the right amount of epoxy has been applied when I can clearly see through it. I usually wind up re-spreading epoxy from where it has pooled to places that are starved; 5) The next day when it is no longer tacky, I’ll scrape it getting ride of high spots and feathering the edge all the way around.
The green tape is to help keep the edges clean for later on. Of course like a dummy, instead of pulling the tape soon after the glass/epoxy is beginning to jell, I left them until the next morning. The result being that in a number of places the tape was glued in place. What a PIB!.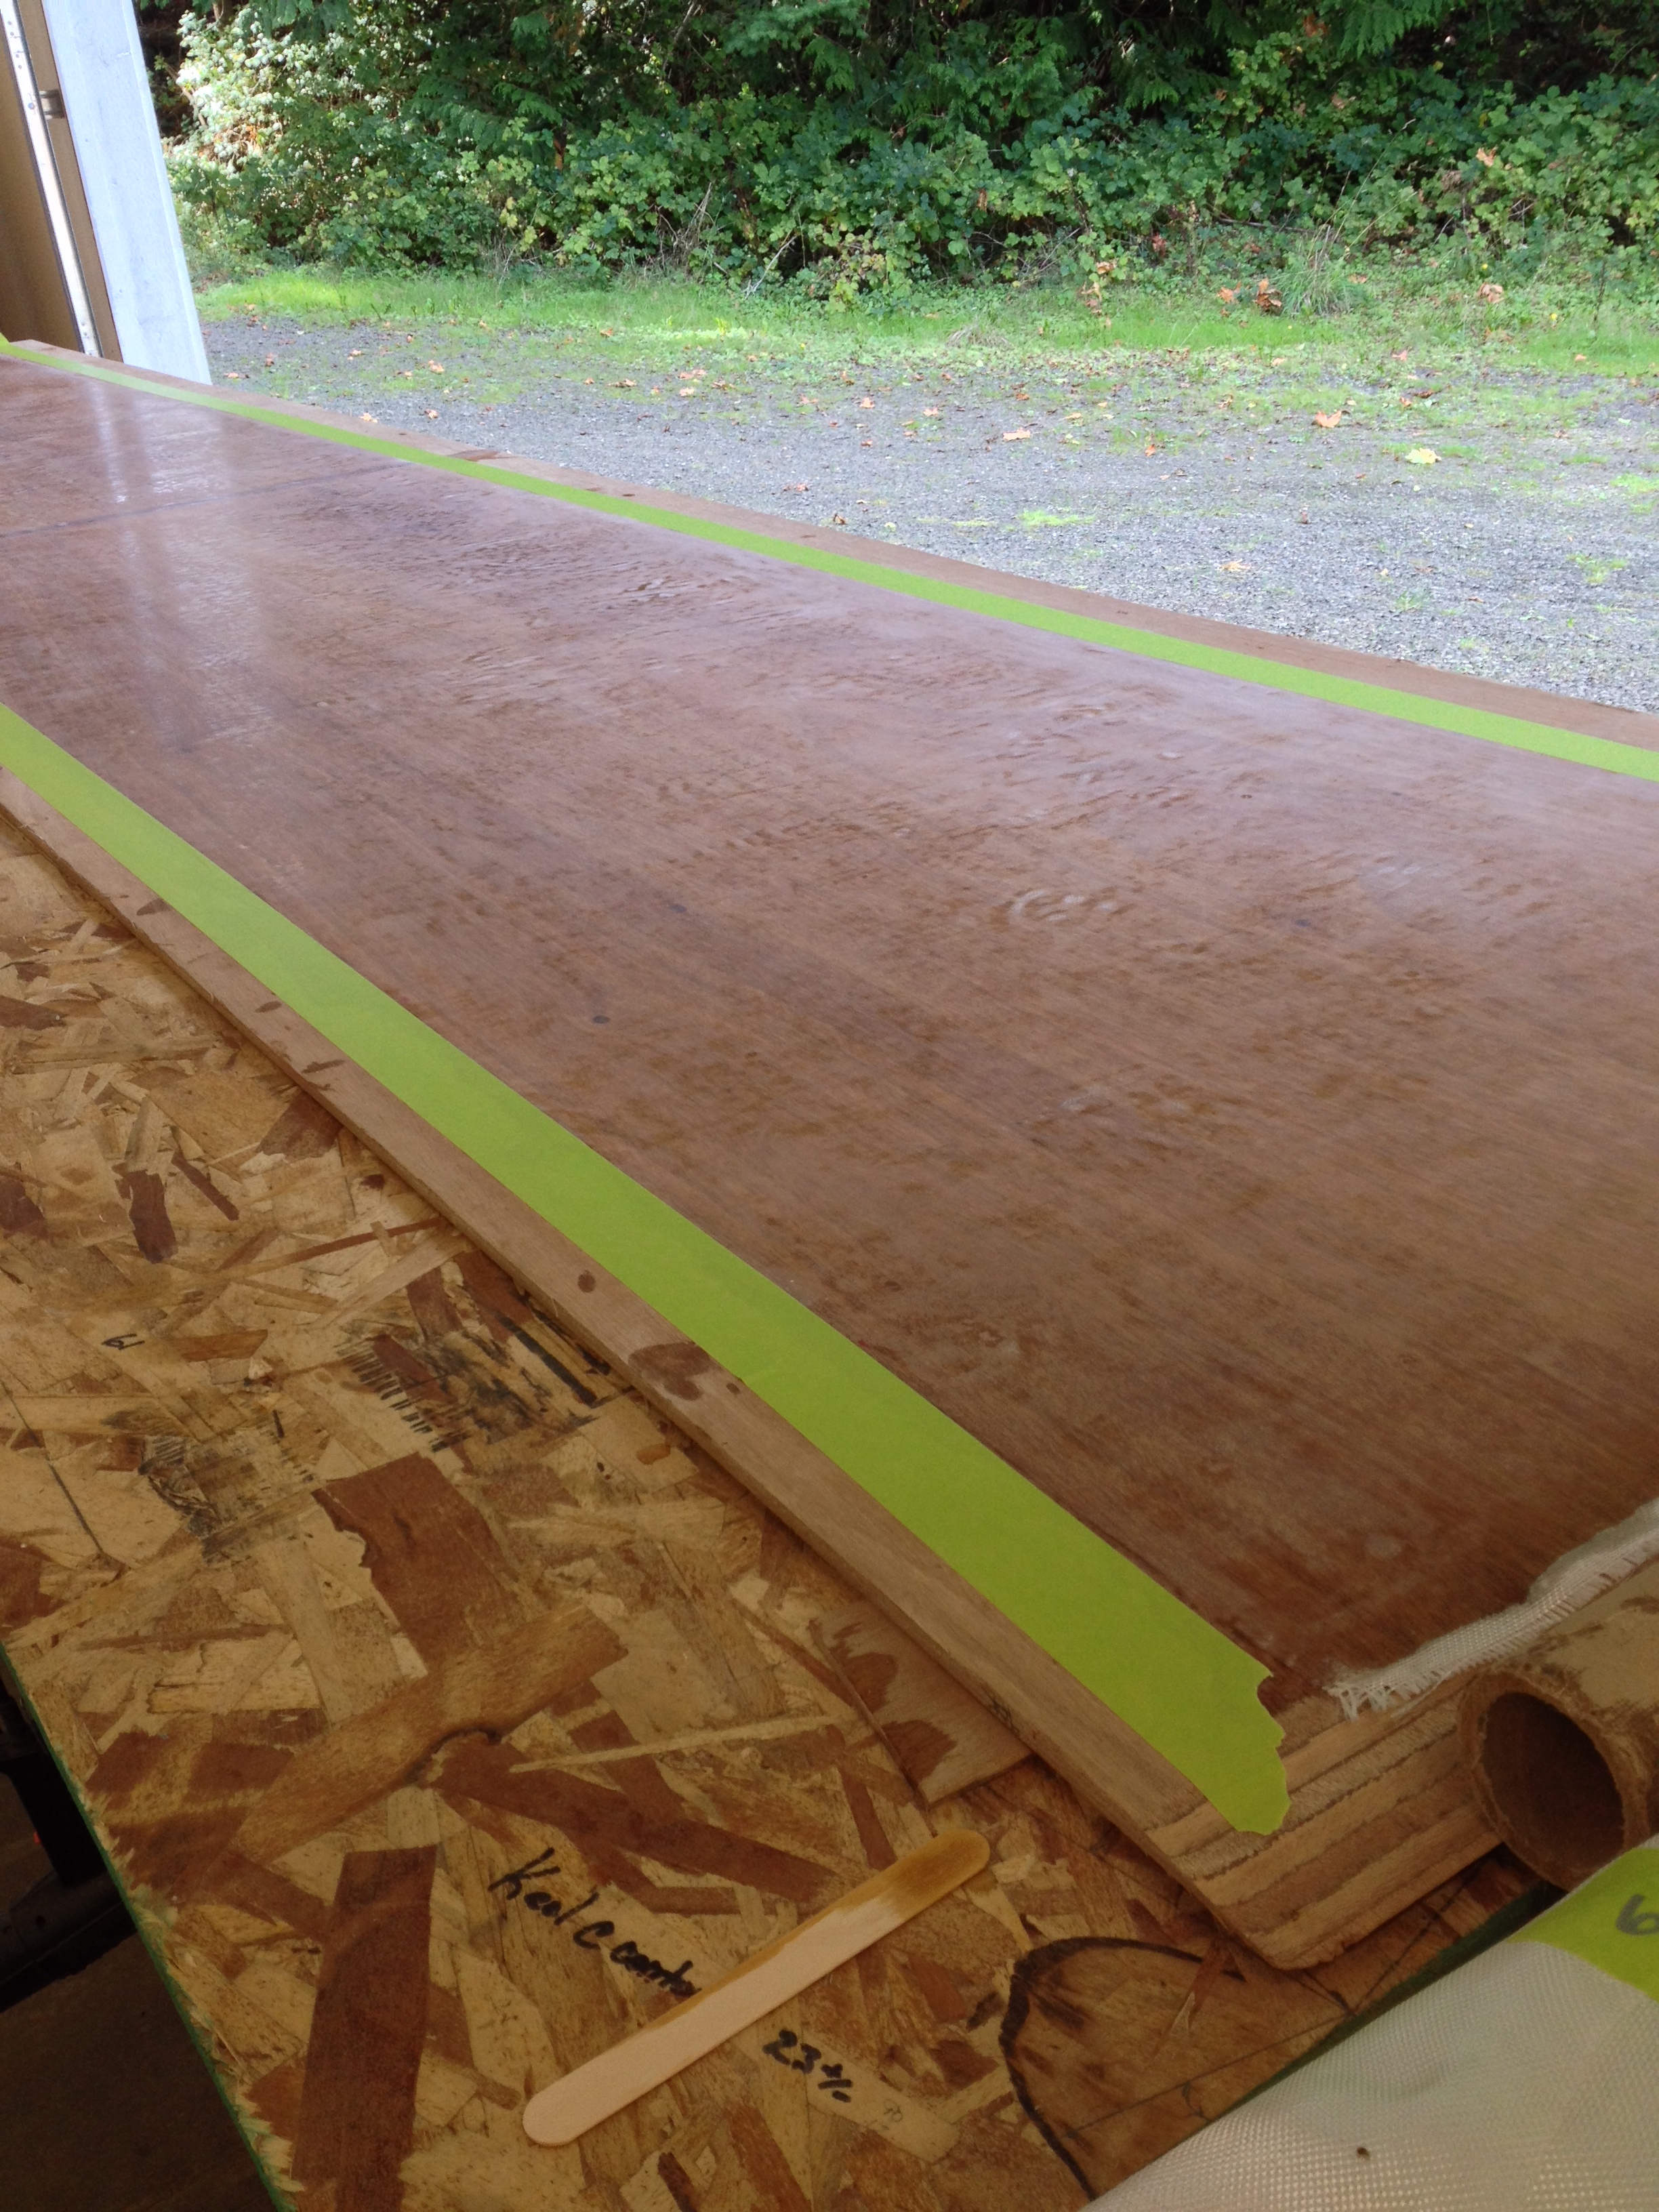
If you enlarge the picture to the left you’ll see that scraping does not leave the panel perfectly flat. I’ll have to make up for that by using an epoxy mix thickened by micro-balloons (think Bondo and car bodies in a collision repair shop) spread such that the low spots are filled. To get the extremely smooth surface that I want, I’ll wind up repeating the filling and sanding a number of times. In the case of the panel above, it is a side panel so the side that is glassed here will be installed on the inside and the outside is left raw until we hang it.
I’ll stop here and explain those edges that I kept epoxy off of when applying the glass to the side panels. The best epoxy joint is one between two pieces of raw wood. The bare spot on the bottom of the panel will go against the raw edge of the shelves. On top the raw edge will be kept together with some glass tape on the inside once the hull is right side up. We’ll keep it in place using temporary screws.
[This time the “we” is my wife, Becky, and me. There are many tasks I just couldn’t handle by myself and she was a great helper, not just helping hold things, but offering some great suggestions and pointing out where I was about to forget a step or something. When it gets right down to it, it’s really the two of us building the boat.]
So we have a scarfed panel for part of a hull side. We also need to place some framing and temporary places to attach the panel until its outside is fastened in place with epoxy and fiberglass tape.
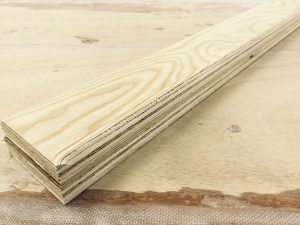
Renn calls out 2x4s for this purpose. I couldn’t find any that were straight, flat not full of knots, so I made my own. I epoxied two pieces of 3/4″ plywood together and now have a superior framing member — stronger, straighter and flatter that a typical 2×4.
Below, the panels are all hung on one side and you can see a vertical board mid-way down the side. That is where we had to glue the scarfed ends together. Builders have approached the installation of the sides in various ways. Some have started at the stern, some at the bow. Some have hung nearly all one side a single panel, while others like us have broken the side panels down into at least two sections.
Briefly, hanging the sides involves taking the panel and holding it up against the frames and at the bottom, the shelf. The middle panel referenced above is the easiest since we just had to line it up against the chine flat which we have verified as being straight. Once we were comfortable with the fit, we spread epoxy (first without thickening, second with.) on the frame members, on the outside edge of the shelf and on the edge where the scarf joint is. With the epoxy spread, we once again hold it up in place and I start placing temporary screws to hold it in place. We also have to treat the scarf joint just like we did earlier and clamp the scarfed panel ends together. A board on each side with screws through them handles that well.
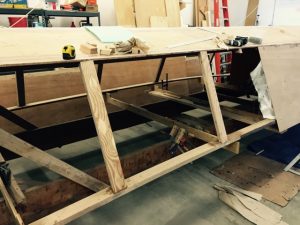
The picture below shows one side completed, but not yet trimmed along the bottom. Sometime before we turn the hull over, I will at least rough cut that bottom edge.
Once the temporary screws and boards are removed, we’re done hanging that panel. The other panels require some shaping to following the hull lines and we’ll have to hold it up a couple of times to get the cut, then try it to see if works, maybe take it down to trim some more before we spread the epoxy glue.
 Below is the bow stem. What fun Becky and I had getting the end at the bow in place. The panel must wrap around to the stem and thus develops some pretty good spring back potential, meaning I had to apply some force. Once we had the panel twisted around to the stem, after a couple of tries to get the right cut on the stem edge, we applied the epoxy.
It took several clamps to keep it in place augmented by a couple of screws who’s role is just to keep it from slipping sideways. The plywood fought the bend, but in the end the two of us prevailed.
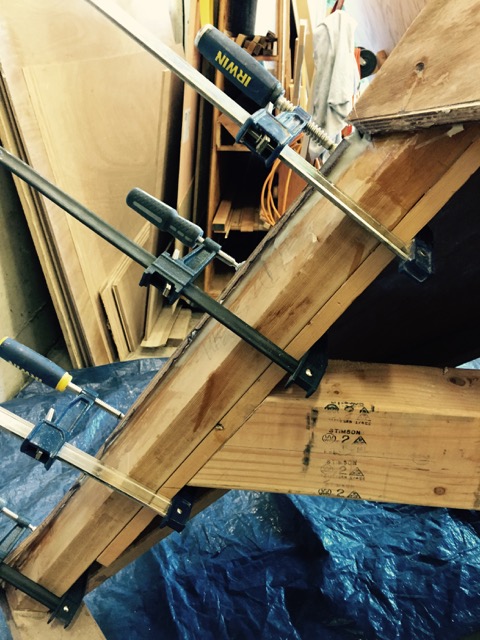 Obviously, we can’t use the same tactic on the second side, so a strap was employed to keep the panel more or less in place until I could get some screws in.
Unfortunately, I don’t have any more pictures of us hanging the sides. In a couple of pictures below taken inside, you’ll see examples of the temporary tabs we use to hold the side panel in place. These are needed because as explained below, the top edges meeting as they do, leave us nothing to glue directly together.
Below is what the seam where the side panel meets the the chine flat looks like, before I’ve completed filling in the ‘v’. Renn calls for the two pieces meeting only at their bottom edges, leaving the ‘v’ shaped gap. At this point we would have nothing to tack them to (ignoring the frame pieces) if we didn’t have the tabs to hold the panels in place for this configuration. However, glass will need to bend over this seam, so the gap has to be filled with enough epoxy to form a rounded corner. Different builders have approached this in different ways using epoxy thickened with wood powder, or micro balloons. I used a two layer approach with the gap halfway filled with epoxy thickened with a Cab-O-Sil (which is a fumed colloidal silica If that means anything to you, it doesn’t to me.) additive that strengthens the epoxy and thus the joint. The top half filled with epoxy thickened with micro-balloons for easy shaping and sanding.
 I’ll remind you that the side panels have glass on one side, leaving the other bare. Obviously, the bare or raw side is outside (see above) and the glass side is inside as you see below.
 Note the tabs on the bottom to side seam, one of the tricks to hanging the panels when they’re edge to edge at the top. Renn has us install temp. “tabs” as he calls them. We screw the top of the side panels to the tabs and of course the bottom is glued to the shelves.
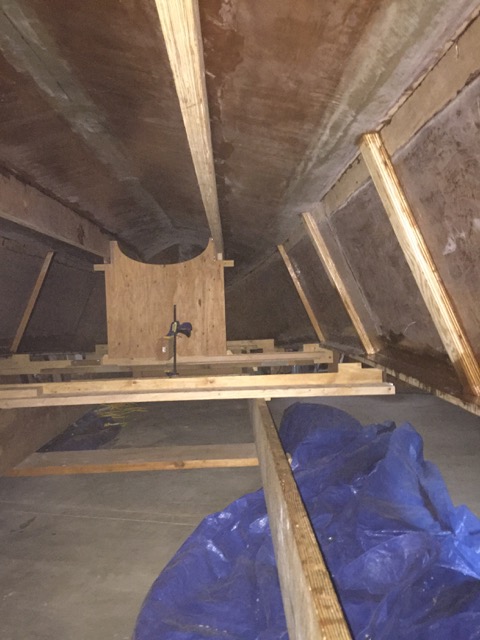
Here is a shot of what things look like from inside the hull. You can see the framing, the stringers (top of page), the horse, building frames (cursed things!), and the blue tarp that I had to some extent given up on at this point.
Below is a shot from the stern showing the panels, bottom and transom all glued up.

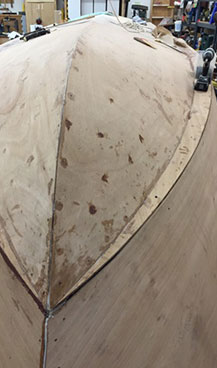
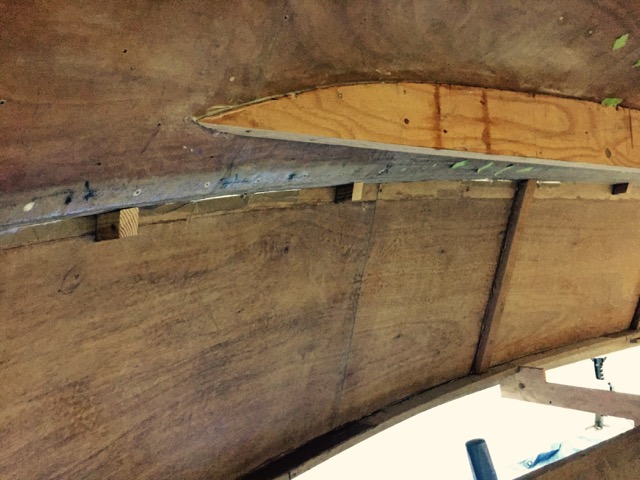
 Above, what the side panels look like from the bow with both sides in glued in place. Next I needed to place tape on the joint at the bow. Renn says we are likely to need to sand or plane off a bit of the side plywood to get rid of a “clipper bow”. Below is a picture of what he refers to.
 I placed a straight edge along this seam to see how much of a problem I had. Quite a bit. Here’s another example of not being fussy enough at an earlier step and now paying for it. In any event, this bow joint needs to be one straight line.
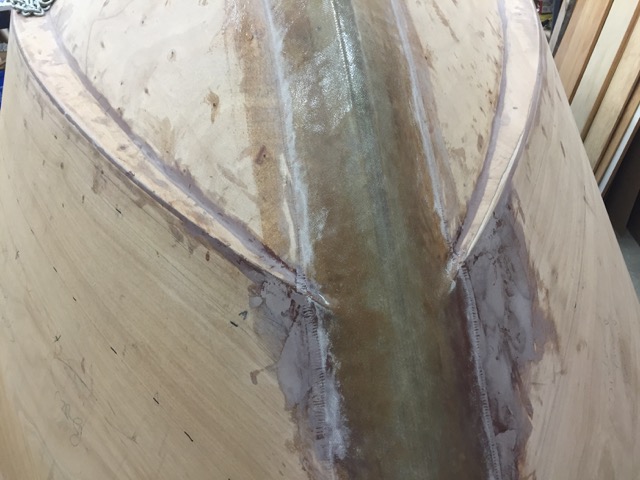 Once I applied some thickened epoxy to fill in the low spots, it turns out pretty well. See the tape used on the exterior of the seam. At that stage, I applied a layer of 10oz and a layer of 19oz biax glass tape. When we glass the sides the bow end of the glass fabric will lap over the seam also.
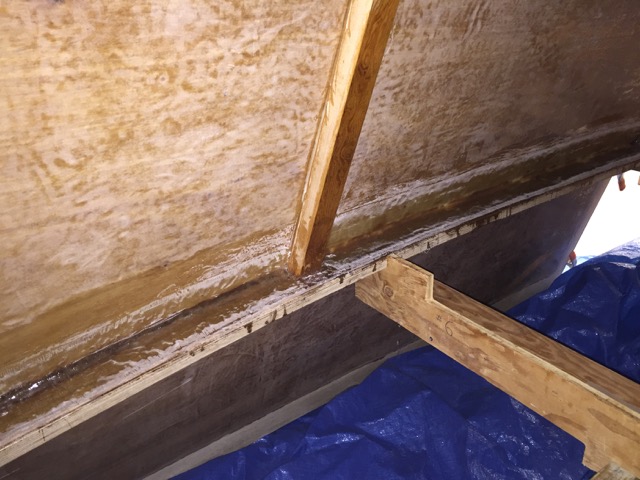
I’ll jump back to the panels for an inside look. The bottom of the panel, one of the bands of raw wood that I left, lies against the raw wood of the shelf. There it’s glued to the shelf, raw wood against raw wood at the contact point. That seam is then strengthened with a couple of layers of glass tape on the inside as the picture shows. This task involved numerous trips under the hull with very limited wiggle room especially for a big guy like me. Predictably, I’d get under and realize I’d forgotten a tool or roll of tape or whatever, necessitating another round trip before I could start work. However this is the lessor of two evils. The choice is, wait until the hull is right side up and try to do the taping on an overhead surface — very difficult, or doing it while in this position and struggling to get in and out all the time.
 Above you can see an example of the tape on the side panel to shelf joint. The white line in the middle of the tape is a fillet which, aside from strengthening the joint, also provides a corner shape that is easier to get the glass to conform to. Here I’ve applied the glass, then saturated the glass fiber with epoxy. The frayed edges will be cut/scraped/sanded off.
The next step is the apply fiberglass to the side panels on the outside. I don’t have much in the way of pictures, but here’s a shot of one side glassed up. Notice that you can see the wood grain through the fiberglass and epoxy.
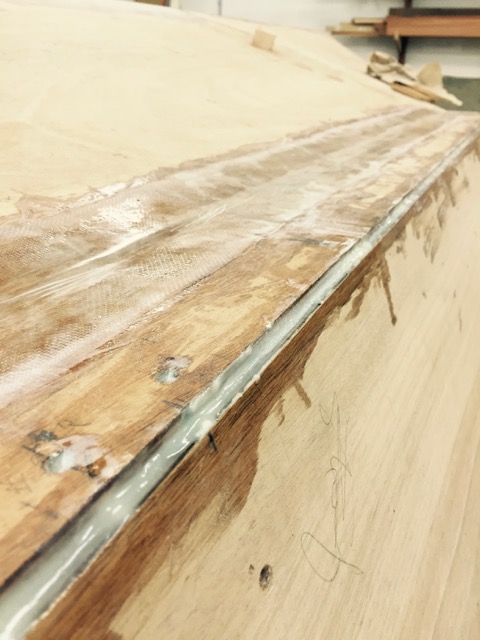
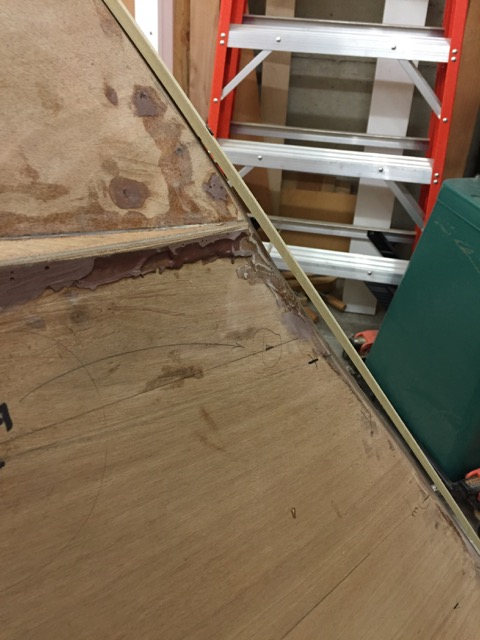
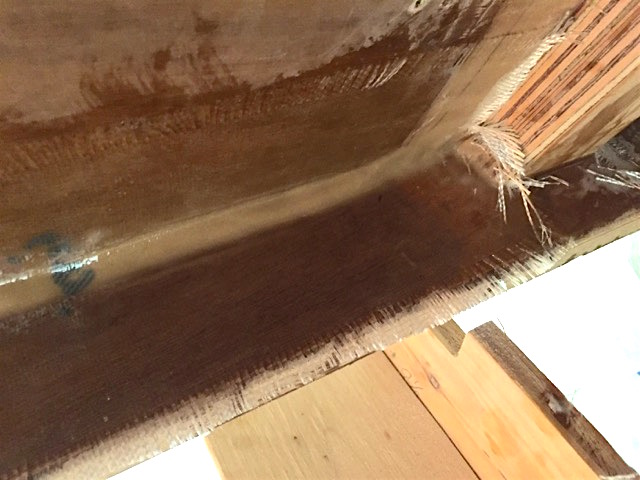
 Again, I’ve left a strip of raw wood along the top of the panel for the bottom glass to lay over the edge a few inched, strengthening the joint at the top of the panels. Below is a picture of that edge (the chine) with several layers of glass.
 The bottom glass, covering the remaining bare wood you see here. will lap down over the chine and the chine flat.
Next up: Fiberglass on the bottom.