Step 2, etc.
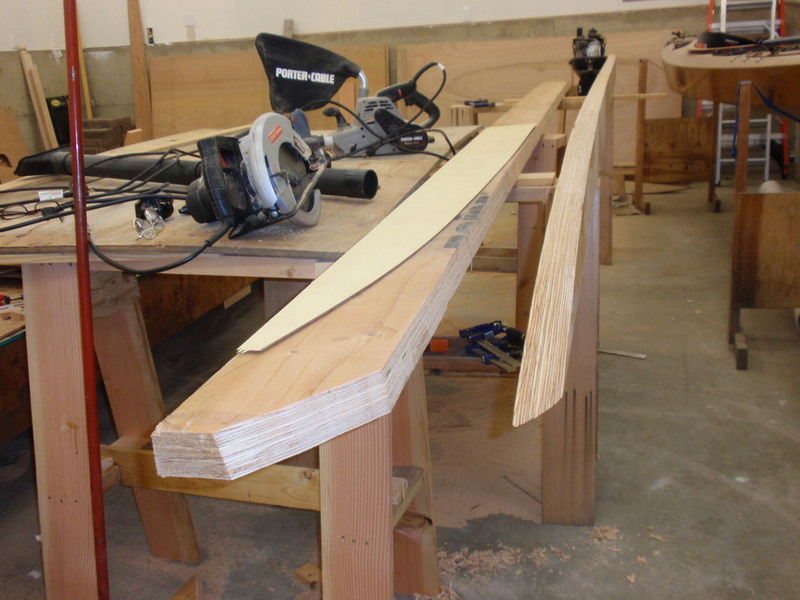
The boat has two main stringers or backbones. For the jumbo size, the two are cut out of a single LVL plank. These planks or beams are manufactured much like regular plywood, and you can likely see the layers in the picture below. Neal provides two templates so one is able to form the profile near the bow quite accurately. It’s a compound curve for shape and not exactly trivial. I started with a circular saw to ruff out the shape, e.g. the one on the left. Then, its a combination of belt sander and a power planer. Once they’re both shaped, I set them back-to-back — tall side to tall side, to verify that they were identical in shape.
During this stage, I also glued up the transom, applied fiberglass cloth and set it aside.

After completion of those two tasks, I moved on to the bottom or “fairbody”. Since the boat will be 24 feet, it took several sheets of plywood to complete the hull bottom. The ~3/8″ and 1/2″ thick plywood used for the boat is marine grade built to a British standard, BS 1088, i.e. expensive. “Several panels” works out to two sets of three sheets of plywood, each. To address this task, I laid two sheets of OSB on the building frame so I had a flat surface 4′ x 16′. It is very important that these panels are straight and correctly positioned, before they are glued up. I nailed a straight edge along one side to ensure that they were.

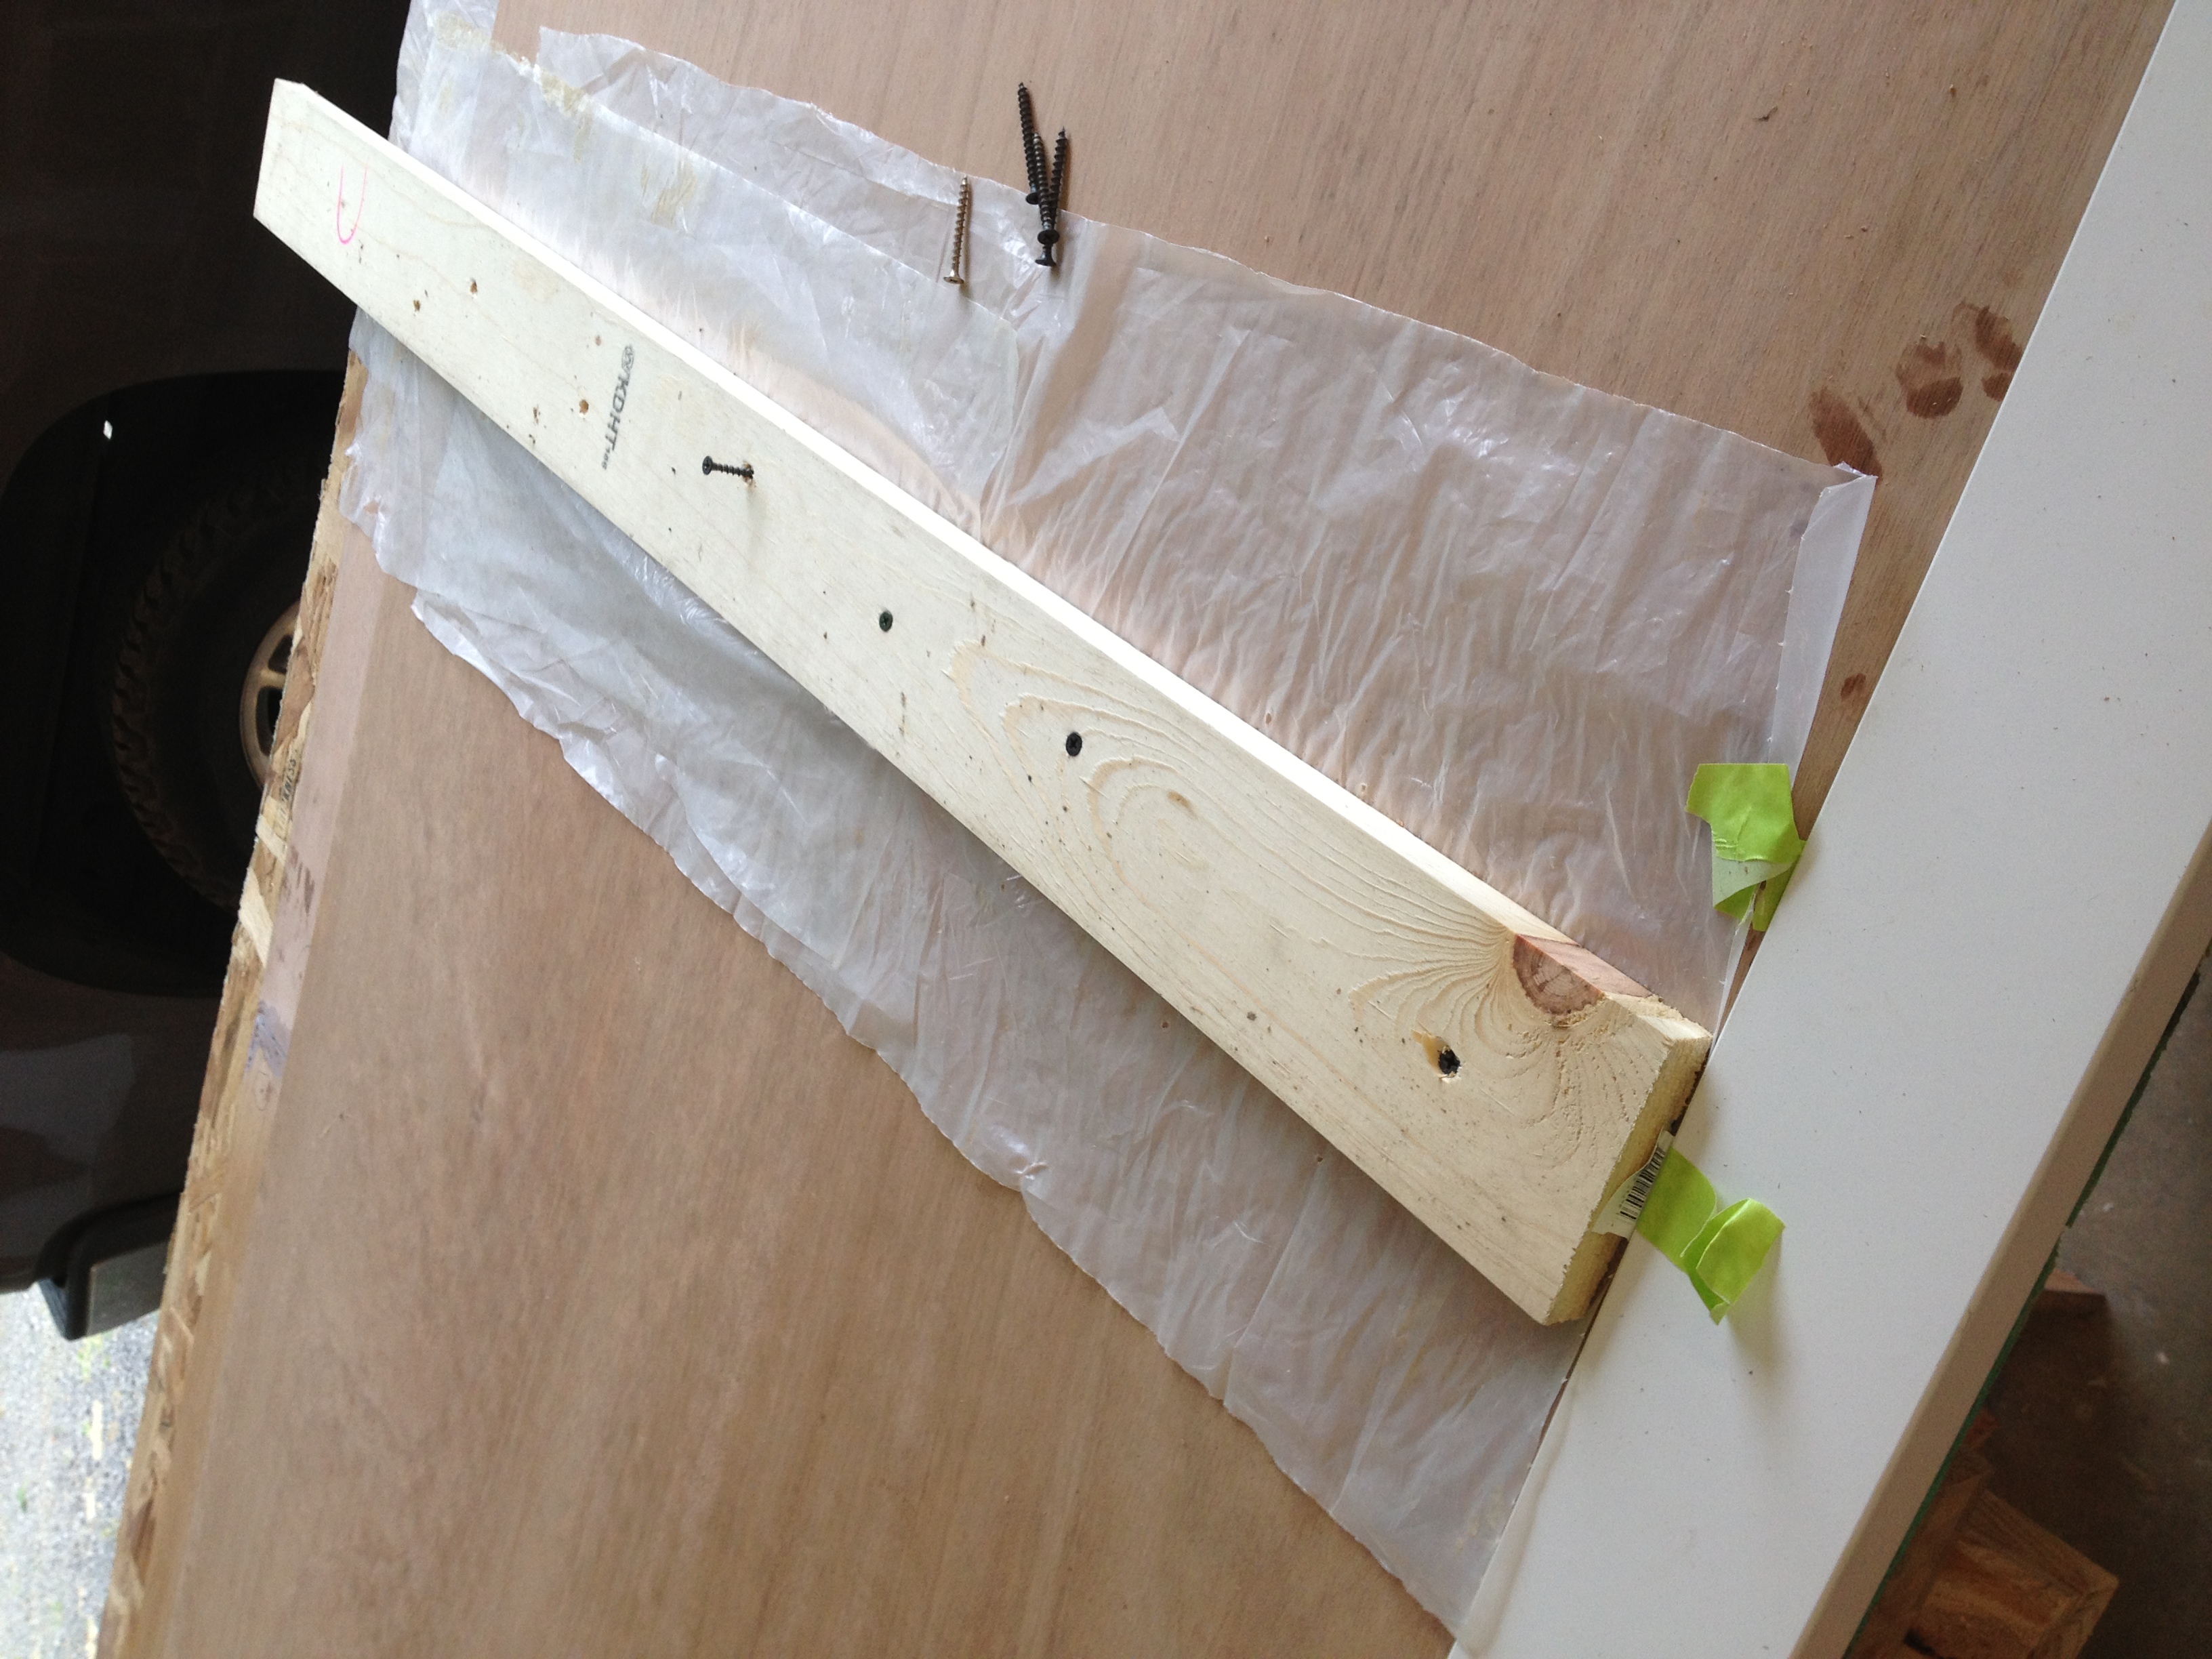
Sheets of plywood are scarfed together for one long piece. Below is a cross section of a scarf.

When the panels are cut as above, I then spread epoxy on the slanted ends and clamped them together. The white board is my straight edge. (click on the image and what comes up is in the right orientation.)
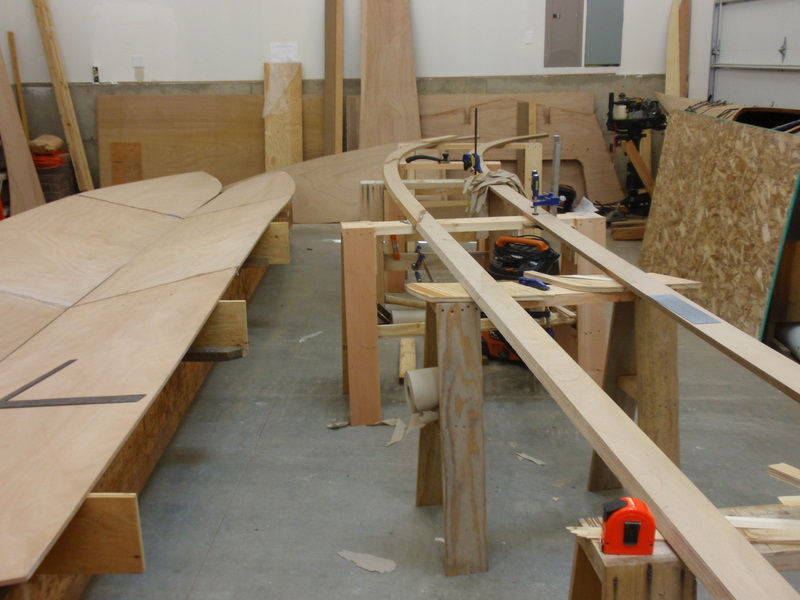
On the left are the hull bottom panels scarfed and laying in what are called molds. The molds have a profile that forms the bottom of the hull, so you see the panels laying in a position that you’d expect of a boat bottom.
To the right of the hull panels in this picture, are the shelves in process of being glued up. When the hull is upright, these will lie on top of the hull sides and are key to stiffening the hull overall. The are essentially gunwales. It may help to visualize their role when you see them on the building frame.
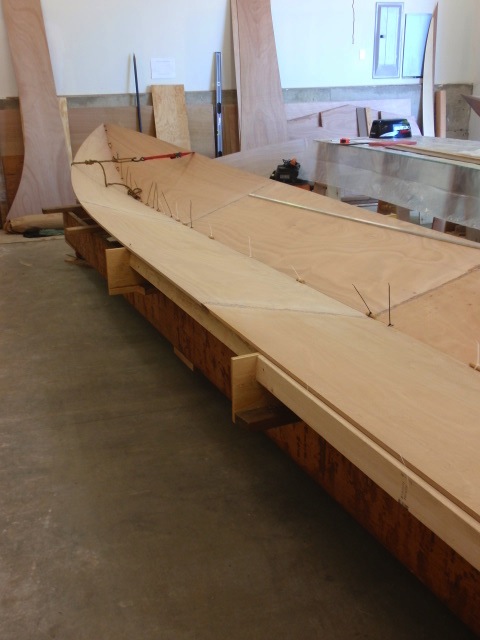
After the bottom panels are scarfed and sitting in the molds, the next step is to temporarily stitch them together. There’s a bit of work with a hand plane to make the edges come together at the best angle. I used tie wraps to stitch the panels together, with plenty of help from the family CFO.
This is one of several points where I measure, check and verify that the lines, measurements, angles and shape are as they should be. Experience has taught me that any mistakes at this stage only compound as the building process continues. This is also the point at which I set about making darn sure that the jig was level all the way around. Then I laid a 6′ level across the outside edges to verify that the panels were level, i.e. vertically aligned side-to-side with one another.
I spent a lot of time fussing (as the boss called it) over the bow angles and the apparent lack of symmetry to the bow panels. I measured and re-measured, then checked my figures again. At the end of the day, the guys on the Tolman forum basically told me not to worry so much about it. And, I decided there were plenty of other things to stress out about.
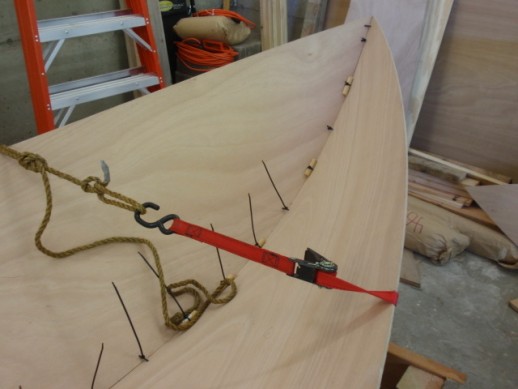
I used tie wraps instead of wire as Renn calls for because I can cut and pull them out easily. With the wires that Renn uses, you mostly leave them in place and bury them in the epoxy. I also took a tip from Paul N. and used some short dowels to help keep the edges in alignment. Renn provides some measurements to insure that the shape of the bow is how it needs to be. Notice that I had to use a strap to pull the sides in a bit.
Next chapter addresses the task of gluing and reinforcing the middle seam. One of the key ones, wouldn’t you say?
If I am correct you are building a boat? So why is it upside down?
To ensure that it is also rain-proof?
It’s just the easiest way to finish the bottom. You can imagine that application of epoxy and fiberglass, and the multiple coats of paint on the bottom would be difficult a at best if the hull is right side up. Once the bottom is pretty much finished, there be a turn-over party, so right side up I can finish the inside of the hull and build the cabins, etc.